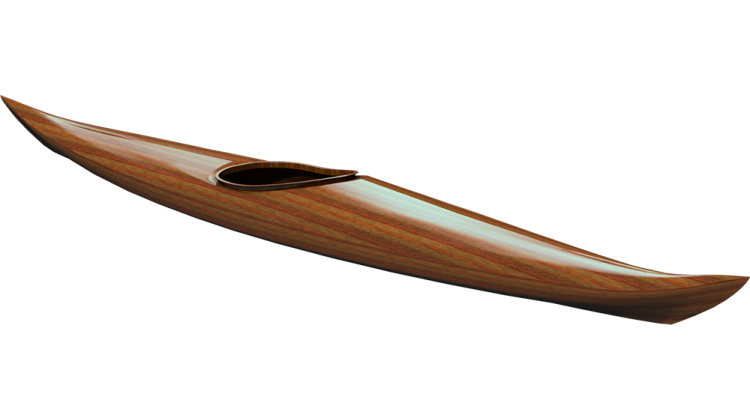
There are a couple ways to add an external stem to a kayak. While I typically use thin laminations stacked and bent and glued in place, on these boats I want a solid piece of curly maple. Since it is hard to bend a solid chunk of wood to fit a given shape I instead needed to make the mating surfaces match.
To accomplish this I first make a pattern for the stems based on a base thickness of 1/2". Using my CAD system I create a shape that I then print out and transfer to my stem stock. I cut this out with a band saw and then used a table-mounted belt sander to close in on the defined line.
I put some masking tape on the end where the stem will be mounted but did not press it down much. I then used a caliper set at a 1/2" opening to mark where the stem is that wide. Because the tape was not pressed down hard, this pressed down the tape where the caliper touched the boat leaving a slight mark.
I used this mark as a guide for aligning the solid stem that I had cut out. Since it is based on a 1/2" width as well they agree fairly well in shape. I then traced the shape of the cut stem on to the tape.
Using the lines as a guide I used a coping saw to cut off most of the excess outside the line. Then I carefully sanded down towards the line with a belt sander, being careful to hold the face of the sander square to the end of the boat. I got as close as I dared to the line without going past.
The trick to make a tight fit is to make both surface match. My goal is to make the end of the boat match the shape of the pre-cut stem. I have a roll of self-adhesive 80-grit sandpaper that I stick to the cut surface of the pre-cut stem. By rubbing this sandpaper on the end of the boat.
This sanding removes material from the end of the boat. To make this process go faster, I use a gouge to remove wood from the middle (inner stem) of the cut end. In this way I only need to sand away at the edges where the tightness of the joint will be visible.
I continue sanding until the whole edge has uniform, even sanding marks. I then switch to finer grit sandpapers because they are thinner and will help make a tighter joint.
Once the stem fits perfectly I glue it in place. I start by coating both surfaces with regular epoxy resin, then I add thickeners to the epoxy and add another coat. The low-viscosity first coat soaks into the wood and the second coat stays in place and does not drain out of the hollow that was gouged out earlier.
The stem is clamped in place with filament tape until the epoxy sets up. Then using planes, power planes, belt sanders, disk sanders, random orbital sanders and hand sanding, everything that does not look like a stem is removed. A fine finish is put on the maple with fine sandpaper and the sharp leading edge is rounded over so the glass will wrap around it successfully.
The stem is glassed in place with bias cut cloth strips. A little bit of warmth from a heat gun clears up trapped air in the cloth.

