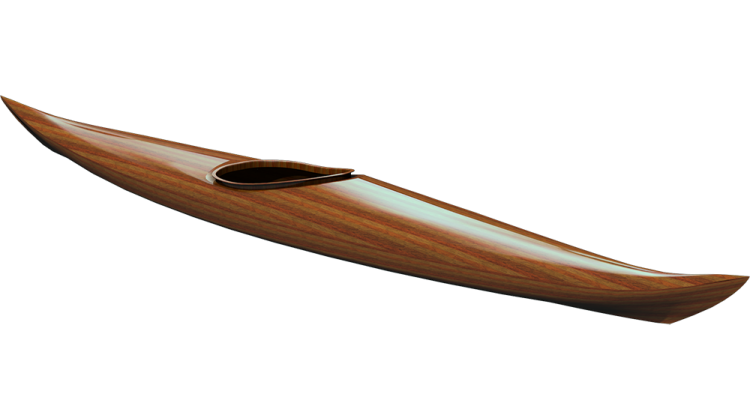
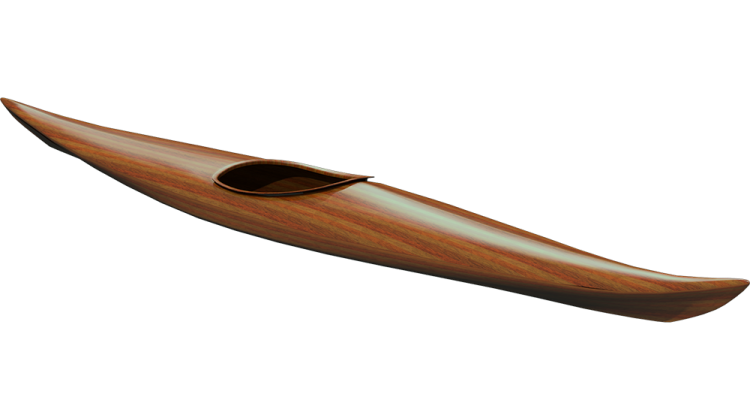
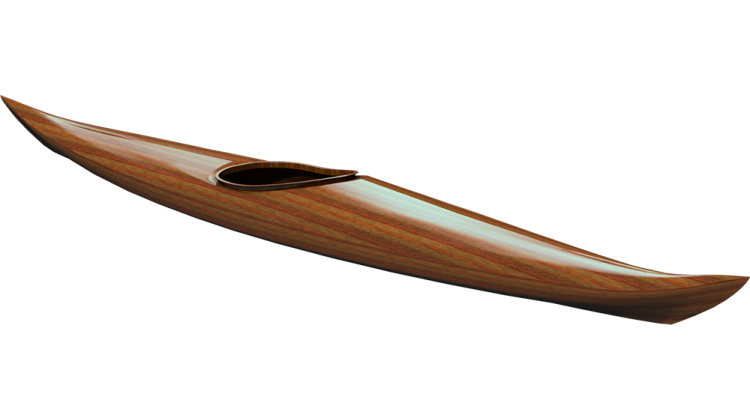
Video 3 in the series documenting the making of a strip-built kayak. Making the inner stems and installing the first strips
Transcript:
Making Inner Stems and Installing the First Strips
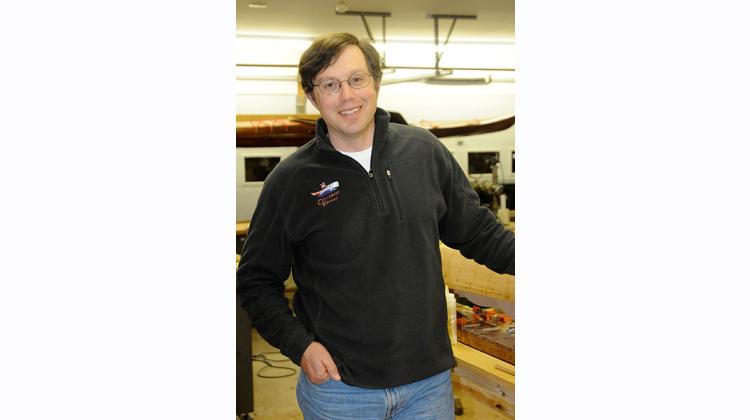
Hi, I’m Nick Schade, owner of Guillemot Kayaks. In this series of videos I’m building the Petrel Play, a strip-built kayak.
In the previous episode I milled the western red cedar strips for the kayak and set up the building forms.
In this video I will shape the inner stems and install the first of the strips on to the forms.
Please post any questions to the comments area. I will try to answer them as quickly as I can.
--
The inner stem fills in the sharp triangle on the inside at the bow and stern of the kayak. While this does provide some strength, for our purposes it just provides a convenient landing place for the strips at each end of the boat.
While I was cutting out the forms I made patterns for the inner stems. I traced these on to one side of a piece of 1/2 inch thick pine. I used the band saw to cut along the outer edge, then traced the same pattern on the other side.
A centerline marks the sharp edge of the bevel.
I want to create the bevel between this centerline and the inner edge of the stem. I find it hard to see what I’m doing on this the light colored pine.
So, a series of pencil strokes provides a quick guide to where I’m at.
The bevel should be a flat face from center to edge with no crowning between.
I don’t try to curve the plane cut down the length of the stem. Instead I create the curve from a series of straight cuts.
Once I’ve got the bevel to my liking I re-trace the inner edge of the stem from my pattern.
I then cut the stem off the half inch blank along that inner edge line.
A quick touch on the sander cleans up the saw cut.
The bevel of the inner stem needs to be continued on to the end form matching the angle of the sectional forms.
A sharp plane cuts the MDF pretty well, but you can also use a rasp or coarse sandpaper.
When the bevel is done it should be a continuation of the inner stem shape.
Since I don’t want the stem forms to be part of the finished kayak, I cover the bevel with tape.
The inner stem is part of the finished kayak. I’ll eventually glue strips to the stems, but for now I’ll hold them in place with masking tape.
With the stems in place, it is now time to start fitting strips. The first strip usually follows the sheer line, or the widest part of the form. When I made the forms I marked the sheer with notches.
I place little clamping jigs next to the notches to hold the first strip while I determined the length.
The jigs support the strip in position so I can accurately measure it.
With the strip aligned at one end I lop it off at the other end.
The ends of the Petrel Play curve up sharply. Full width strips usually have trouble bending enough. Since, narrower strips will bend easier, I taper the ends. I think it also looks nice.
Since each stroke of the plane takes off a little bit, where ever you plane more, more will be removed. So, by stepping back a bit with each plane stroke, you will end up creating a taper.
By planing the sheer strips for both sides of the boat at the same time, I end up with two identically tapered strips.
The sheer strip needs a bevel to mate with the deck. If you leave the edge of the strip square, you will end up with a large gap. With a bevel on each sheer strip they will match up with a tight seam.
I created bevel guides by clamping sticks to the forms to bisect the angle between deck and hull.
The bevel changes from form to form, or what is called a rolling bevel. I start by putting the tapered strip back up on the forms.
I write the form number where the strip crosses each form. This helps me keep track of my location on the strip as I create the rolling bevel.
The gap between the strip and the guide sticks is what I need to eliminate.
When I place my plane on the strip I match the gap I just saw at the guide stick. If I maintain that same angle as I plane away the corner of the strip I should eliminate the gap.
I continue planing until I think I’m nearly there, then I check to see how I’m doing.
Once again, I check the gap
And match the gap
Then I check at the next form, working my way along the strip.
In between the forms, I roll my wrist while planing, to transition from one bevel to the next.
When the bevel looks good, its time to secure the strips on place.
A simple staple is a quick clamp.
I align the strips to the sheer mark and double check that it runs fair and true.
When I have both sheer strips installed I glue the ends to the inner stems. A small amount of glue, a clamp and wipe off the excess.
The sheer strips are on, now we can start making progress.
--
In the next episode I will continue adding strips on the side of the kayak, working my way up to the chine.
Please subscribe to my YouTube channel to keep abreast of the progress.
And, again, if you have any questions as I proceed, please ask in the comments.
Thank you for watching and Happy Paddling.

