
I use a jig I made for the band saw that helps cut a curved blade, but you can just mark the curves onto your blade blanks and make the cuts free hand.
The blades are thicker at one end and thinner at the other. I alternate the which end is thick and thin so I move consistently through the blank and so I will have a symmetrically matching set for each end of the paddle. You will need to cut at least 4 of these blades.
hi welcome back to the Guillemot Kayaks
workshop I'm Nick Schade and I'm working
on making a feathered kayak paddle so
this is your standard kayak paddle and
actually some of them will be feathered
some will be unfeathered but essentially
it's a process for making any kind of
laminated paddle or or whatever so in
this episode I'm going to work on
cutting the blade blanks down into blade
pieces so a couple things I have a jig I
make that is a quick and easy way to cut
the shape of the blades into a nice
consistent curve and so I'm going to
make that jig and then get the paddle
blanks ready to go and then start
cutting some of the blade pieces so
thanks for tuning in and hope you enjoy
[Music]
[Applause]
[Music]
now I have a blank cut to length this is
a 16 inch long blank so I'm going to cut
blades out of it kind of like this so
these are pre curved blades this happens
to be a 19 inch long blade but that's
the kind of blade I want to cut out of
it so why at one end narrow at the other
end and pre-curved if you look at the
offcut here I laid out the grain so it
is kind of a book match so you can just
make out on the grain here that it comes
out then comes back in I want to have
the curve of this come and be so the
grain at the wide point in the middle
and the narrow point at the end so like
that so here's the narrow and it's wider
down here so you want the curve of the
blade to curve from here kind of like
that so it starts out here where the
grain is narrow coming close together
and then as it goes towards the middle
of the blade it cuts deeper into it
where the grains a little bit wider and
then as it comes back to the end it is
again narrow so when I set up to do the
cut the blades I'm gonna cut the
curvature this way and that's just an
aesthetic thing it doesn't need to be
that way but that's just the way I've
decided kinda looks nice so that's what
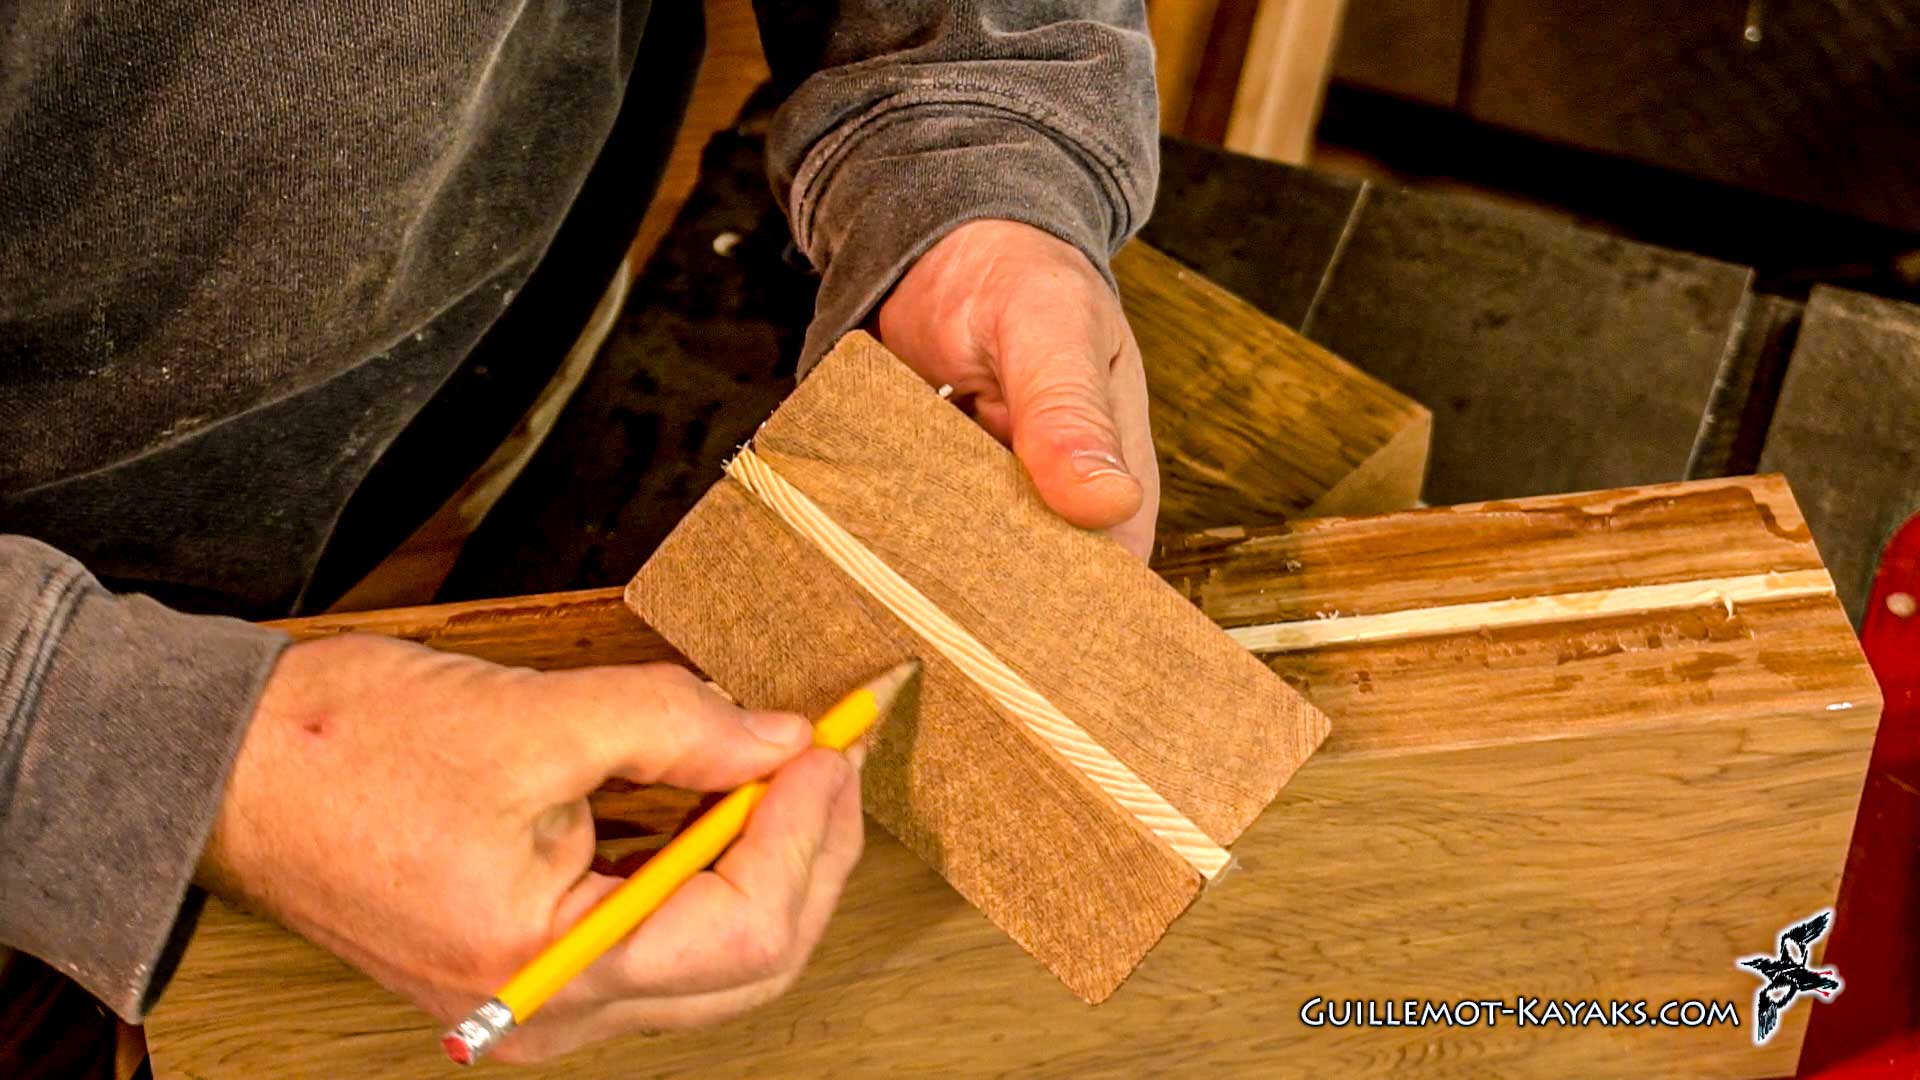
I'm gonna set up to do so here I have a
pattern for a blade for that curvature
again wide if the butt-end narrow with
the tip end and this is thicker at the
tip end and it actually needs to be I'll
end up shaving this down more but it
just gives me some room to deal with
misalignment so
a quarter inch here about half an inch
here so I'm just going to trace this
pattern on starting at the very tip so I
got a line there barely visible in the
video and now we're going to take and
swap this in firend
and retrace it so just line that line
back up again and then keep flipping it
back and forth
all right so I've marked it all out and
I should be able to get 1 2 3 4 5 6 7 8
9 blades out of it each paddle is going
to use 2 blade 2 of these at each end so
it's going to take 4 and so I should get
2 full paddles out of there plus an
extra blade we'll see if I have a use
for the extra blade but it just gives me
a chance to screw up a little bit and
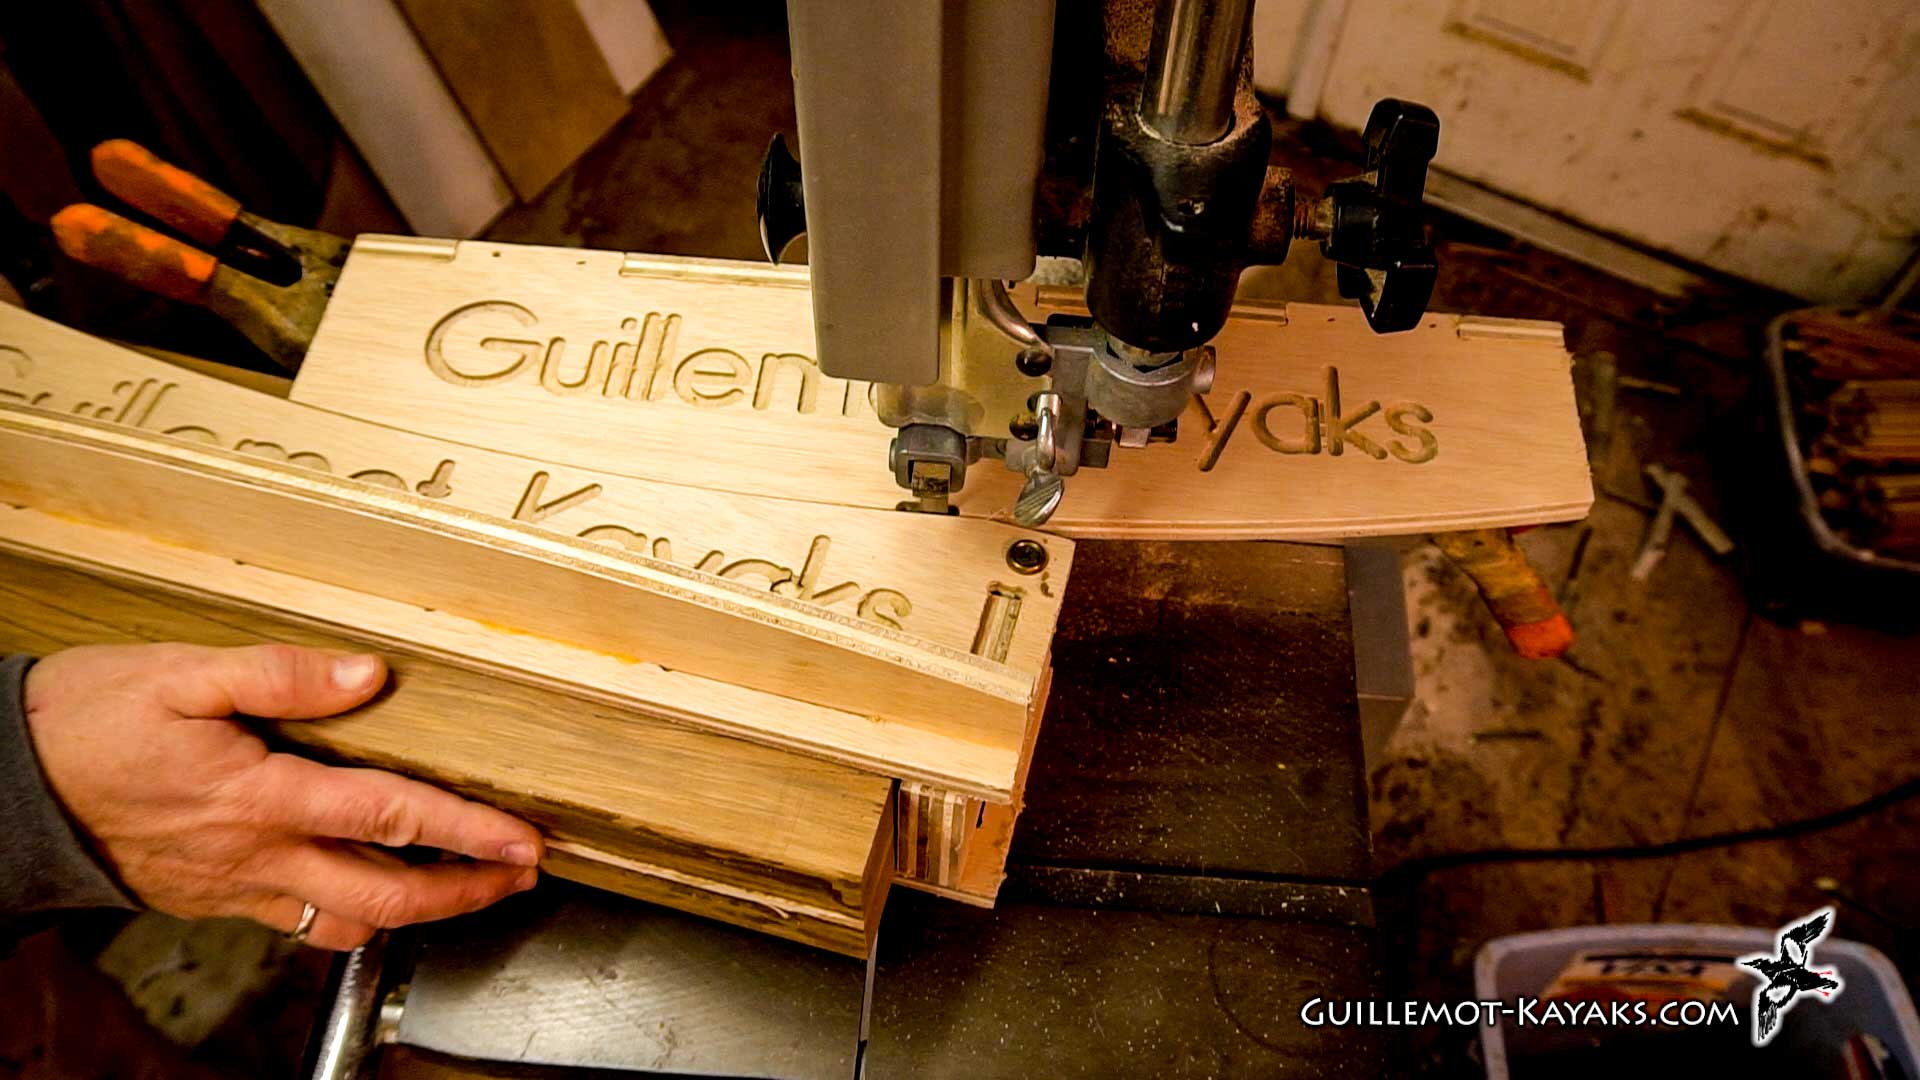
have a spare so I made a blade cutting
jig on my CNC machine that consists of
essentially a fence this will be the
curve for the 16 inch blade the saw
blade goes right in here and then this
will be the sled where I put the blank
so the blanks go in like this and get
clamped down like that and ride up
against this that's kind of like that
first thing I want to do is to just make
this clamp nice and secure I'm gonna put
some self-adhesive sandpaper on here
just some really core of stuff this is
60 grit and that'll make it so when I
clamp this down the blank won't move
also I'll put some screws through these
holes to just create the clamping
pressure to hold that in place so the
fence piece that's attached to the fence
such the blade will fit in that little
notch and we'll just put some clamps on
it to hold it there and you want to have
it set so it's pretty much even with
this surface here good starting point
then this piece will just run straight
along there so make sure the clamps
the way there's some center fearing a
little bit
[Music]
[Music]
[Music]
[Music]
[Music]
[Applause]
[Music]
now obviously you could have made these
freehand without my little jig here but
you see the jig does speed things up
quite a bit you know if you don't have a
bandsaw
you could actually cut each of these
laminations separately into individual
thin pieces and glue those up using a
jigsaw
you know Sabre saw something like that
if you don't have the bandsaw to pre-cut
those curved pieces the bandsaw is
really nice and this jig makes things go
a lot quicker but obviously you could do
this process with some other tools and
end up with the same result might take a
little bit longer but the final paddles
not going to be any worse for it if you
have different set of tools that you
want to do it with so thanks for
watching this episode in the next
episode we'll cut the shafts to size
taper them cut the scarf in them if they
need it and hopefully get the blades
glued on so if you're liking this kayak
paddle build and you'd like to see more
videos like it please support the
channel by subscribing to it liking this
video sharing my videos with other
people and if you're really into it go
over to my patreon page chip a little
bit of money in to support the process
of making these videos it really helps a
lot and I appreciate your support so
until the next video thanks for watching
and happy paddling