Transcript:
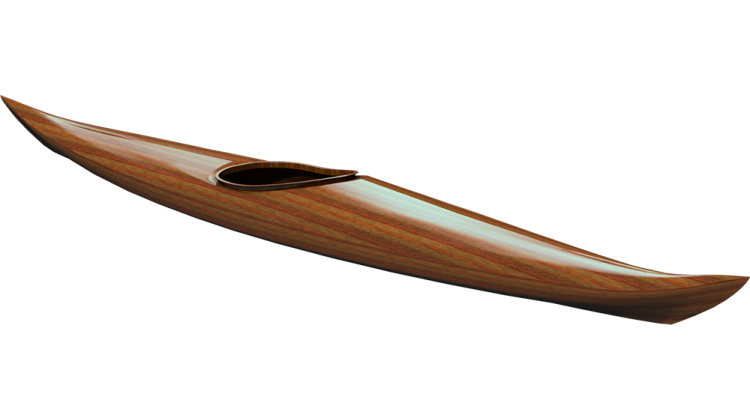
Hi, I'm Nick Schade at Guillemot Kayaks. This is part 3 of my quick Skin on Frame microBootlegger Sport kayak build. Today, I'm assembling the coaming.
My idea for the coaming is stacked plywood pieces including a bottom sill to transition from the skin to the coaming, then thin plywood spacers topped with a lip to hold a spray skirt.
I let the ShopBot drill a bunch of stitch holes around the perimeter of the sill. I now want to ease the edges of those holes so the thread doesn't get cut when I sew on the seam. I use a countersink on the drill press to chamfer the holes.
There are a bunch of holes, especially when I'm doing both sides, but thanks to the wonders of fast forward, it doesn't take too long.
The CNC cut coaming parts all get assembled with epoxy. I add a little fumed silica to it to thicken it up so I can apply a fairly heavy coating to the sill and underside of the lip.
I then add more silica and some wood flour to make an even thick glue. The wood flour just turns it brown so it matches the plywood better.
Each spacer gets smeared with the epoxy schmutz before being situated in place on the sill. I had divided the spacers into quarters to be more efficient with the plywood. There are two layers of spacers here, then the top is the lip.
With the parts roughly in place I start clamping the stack together. The parts need a little adjusting to make sure they are all lined up with the interior edge of the hole.
One inviolate rule of boat building is there is no such thing as too many clamps. Lots of clamps assure the seam is tight without waves between pressure points.
There was a little gap where the CNC ate a part. I filled it with the schmutz.
After the epoxy cures all the clamps come off.
The oscillating drum sander makes pretty quick work of cleaning up the glue squeeze out. I'm careful not to pause in one spot. Stopping can create a low spot which may catch the drum again, digging the spot even deeper. By keeping the part moving on the sand I get a nice fair interior surface.
The drum sander can not reach the coaming side next to the knee hooks. Instead I have to come in with a rasp to clean off the epoxy blobs.
I want to eliminate most of the sharp edges on around the cockpit. First I use an 1/8" radius round over to ease the outer perimeter of the sill and the edges of the knee hooks.
Then I switch over to a half inch diameter to round off the top and bottom edges of the coaming.
In the next video in this series, I will test fit of the full assembly.
If you enjoy these videos and would like to see me document more small boat builds, please subscribe, hit like and share. If you have any questions or comments, please post them, I will answer them as quickly as I can. And don't forget my Patreon page, your support will help me allocate more time to producing high quality videos.
Thanks for watching and happy paddling.

