Transcript:
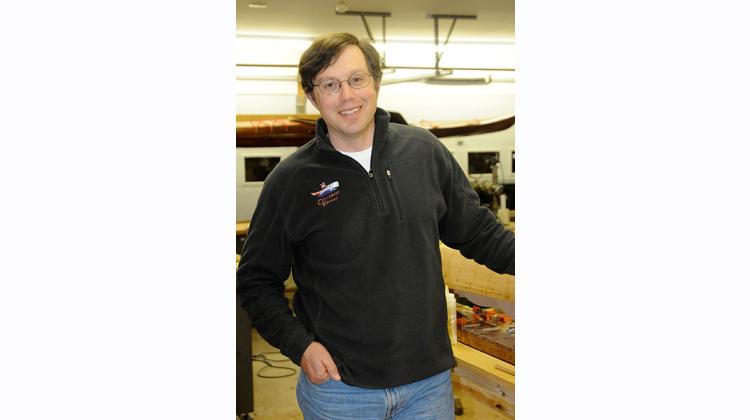
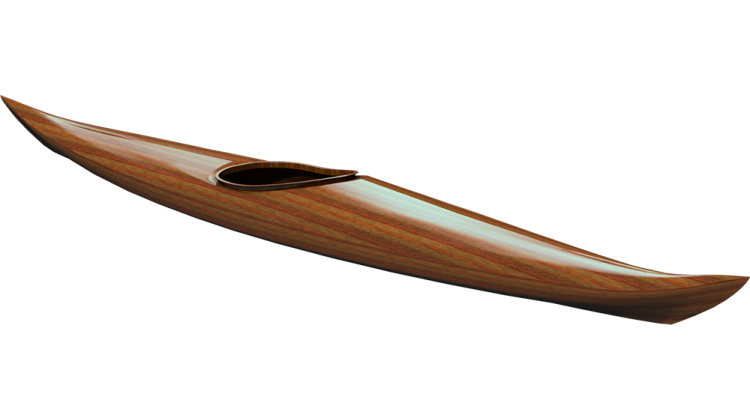
Hi, I'm Nick Schade at Guillemot Kayaks. Welcome to episode 6 of my build of the skin on frame microBootlegger Sport. In today's episode we will be wrapping the frame with its skin of polyester fabric.
My friend Dave came by to see how I'm doing it and give me a hand. Dave is one of my frequent paddling companions. He is also very skilled with a surfski in rough conditions as well as a experienced boat builder.
The cloth I'm using for the skin is a polyester filter fabric. This is left over material I purchased years ago for an earlier project from Dyson Baidarka & Company. Looking back at my records, it is a 14 ounce cloth.
I had just enough to cover the frame.
We unrolled it and centered it on the frame then pinned one side in place. I slipped a lath under the skin as a cutting surface.
In the past I used a soldering iron with a modified tip to cut the cloth. I now have a nice hot knife that glides through the material. A melted edge like this is really nice as it binds the edge a bit to keep it from unravelling.
After trimming one side, I fold it back and cut the other side. The trim line is about one inch from the centerline. This should give me enough material to sew the seam.
The seam stitching method I use I learned from Robert Morris' book "Building Skin on Frame Boats". I start by running two lengths of parachute cord down the length of the seam. Here I looped the cord around the coaming and tied it tightly back to the stem form.
Here is Dave working on sewing the bow seam. The twine is threaded through the cloth, under the parachute cord then through the cloth again before going through the other side in a similar manner.
Then another needle runs another length of twine back approximately through the same holes from the other side.
The bow has a stringer running directly down the centerline. This helped keep the seam straight. Dave stuck push pins through the para-cord into the stringer to keep the cord tight and centered.
With this cloth, a stitch every centimeter or half inch seems to do a good job. We are trying to get the cloth as tight as we can at this point, but it doesn't need to be drum tight.
While Dave worked on the bow, I got started on the stern. I did not have a stringer running down the center line so it was a little hard to keep the seam straight. In the future I will probably insert a temporary batten as a guide.
I found that pulling the thread taught along the seam helped pull it down under the para-cord. I moved the spring clamp after each stitch to hold the tension.
This method of sewing the seam is quite quick. I like how the parachute cord reinforces the edge providing a secure point for pull the cloth tight. There is no fear of over pulling and ripping the fabric.
The results are very clean and neat, especially where Dave was following the deck stringer.
At the stern where there was no stringer, I found I got the best results when I pulled the para-cord very tight and secured it with some push pins. By working my way down, pulling the thread tight, I eventually started getting straighter results.
I also eventually started running out of thread. So I finished off the ends by pushing the needles through just one side of the fabric and tying a knot between the threads.
When I started the new length of thread I step back a few stitches and overlapped for a while to insure a secure junction.
We kept with this seam technique until we got to the stem. I did not want the large raise seam cutting into the water. I trimmed off the para cord even with the end of the stem and trimmed the fabric a bit over size.
Working down the stem, I stitched one side to the other just using the thread to gather together the excess cloth. I was still using two needles but I would do a few stitches with one, going one direction and then follow with the other going the other direction.
I kept this up all the way down to the bottom of the stem, gathering together the last little pucker with a few more stitches.
I wasn't completely satisfied with this seam so on the bow, I left a little more excess when I trimmed the fabric.
This extra let me fold the ends over and stitch through the fold, tucking the excess inside the seam.
I then proceeded like before, stitching around the edges with two needles. I finished off the bottom by returning part way back up the stem.
I think this system of folding in the edges before sewing made a cleaner looking seam.
I made a mistake when I first cut the fabric to size. There was a little corner next to the cockpit that the cloth did not cover. To fix this I needed to cut a patch. I wanted it to look symmetrical so I cut a matching corner out of the other side.
I then cut a triangular patch to fit.
The parachute cord was not part of the patch, so I cut it off.
I used a similar stitch to the bow, folding the edges down and sewing between the two sides.
While I would rather I didn't have to patch it. The fix was quick and easy to do.
I added a para-cord edge to attach the skin to the coaming perimeter.
I'm sorry I didn't get any close ups, but I just sewed up through the holes and doubled up fabric, then around the para-cord and back down through the same hole. This process was just repeated all the way around the perimeter.
The fabric is rolled around the cord and then sewn down through the holes in the coaming apron.
I thread up through a hole, through the doubled up fabric, around the para-cord and back down through the same hole, then move to the next hole.
Over, up, around and down, over, up, around, and down. If I needed an extra hole, I shot one in. I trimmed as I went to be sure I didn't cut too much off.
It's a little awkward reaching in under the coaming to thread the needle up through the hole. I found a pair of forceps handy to hold the thread tight in the prior hole while I was threading into the next hole.
The thread I'm using a braided polyester fishing line. It was nice stuff to work with. It didn't have much tendency to tangle, and was relatively easy on the hands to pull tight.
I am really pleased with this technique for sewing the skin to the coaming. It is very straightforward, not requiring anything fancy. As long as I kept the skin rolled tightly around the parachute cord, it made a very clean edge.
Now for the magic of polyester fabric. I want the skin drum tight. While it is possible to do this with sewing techniques, it takes some work. At this point the fabric is finger tight, with most of the slack removed.
A very hot iron pressed firmly against the cloth makes it shrink. While polyester is not the strongest fabric choice, this ability to heat shrink is awesome. Once shrunk tight the fabric will not loosen and sag.
While its kind of a shame to hide the frame under the fabric, the skinning process is quite quick and easy. Of course, the boat is not yet sea worthy. This is filter fabric, its designed to leak like a sieve. In the next episode, I'll seal the fabric and do the outfitting preparing the kayak for the water.
I look forward to your questions and comments. Please share this video and if you enjoyed it don't forget to subscribe. If you are watching on FaceBook, be sure to see the rest of this series and other small boat building projects on my YouTube Channel.
If you would like to see more videos like this in the future, I would appreciate your support via my Patreon page.
Until next time, thanks for watching and happy paddling.

