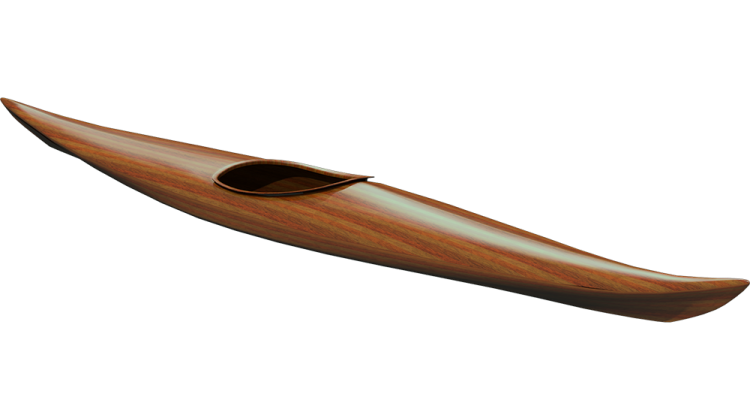
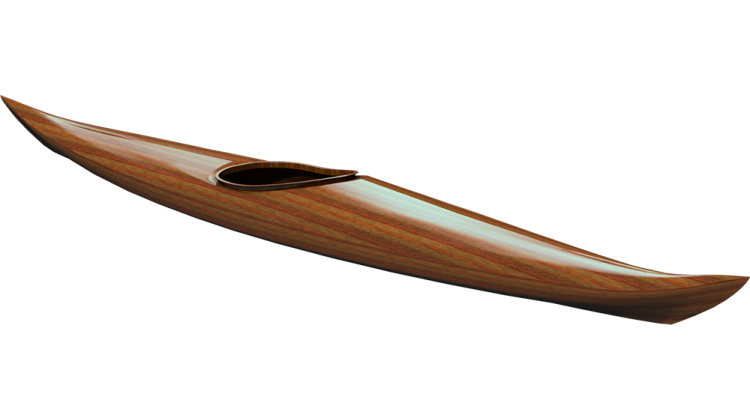
One of the problems with building boats professionally, is it can be hard to find time to do work on my own kayaks. I built this Night Heron years ago. It started at a class I was teaching that didn't fill up. I figured I would make another Night Heron, just to have one. Since I was busy teaching, I didn't get everything done in class, and it took me awhile to get back to it. I did eventually almost finish it, to the point where it was usable, but I never did get around to making the end pours.
I was about to teach a on-the-water Coastal Kayaking class at WoodenBoat School and thought it would be a good chance to let people try the Night Heron, but I needed to improve the decklines. Starting with the endpour so I could add a real grab loop or carrying toggle.
Before starting, I rinsed out the kayak. This was probably not really sufficient prep for a good epoxy bond, but it was the best I could do. I then propped the boat up into the door to my shop attic and place the bow into a bucket of hot water. I placed a block of wood under the pointy bow so I wouldn't poke a hole through the bucket.
I used hot water to make the epoxy kick off quicker. A mass of epoxy like an endpour will generate its own heat, so it seems a little counter intuitive to use hot water, since I want to keep the hot epoxy from damaging the boat, but for the wood to get really hot, it would first have to boil off all the water outside and until then the hottest it could possibly get is the boiling temperature of water. This isn't hot enough to hurt the wood, and I was in a rush, so thats what I did and it works.
I mixed a lot of phenolic microballoons into the epoxy to make a very light weight mix. I placed this in a dump cup with a harness to lower it into the boat and a dump string off the bottom to tip over the cup when needed.
After dumping the cup into the end I let it drip for awhile then pulled the cup up while the pour cured.
This took about an hour before doing the other end. After it had cured for an hour I pulled it out and drill the holes through the end.
I drill a 1/2" pilot hole, followed by a a 3/8" hole and then a countersink to ease the corners a bit. This all got coated with some epoxy.