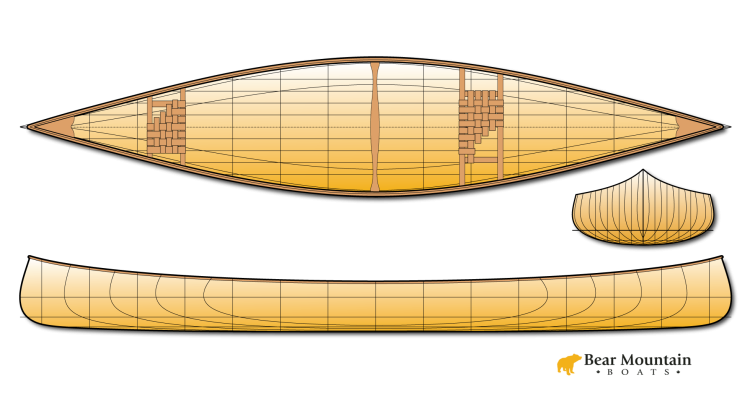
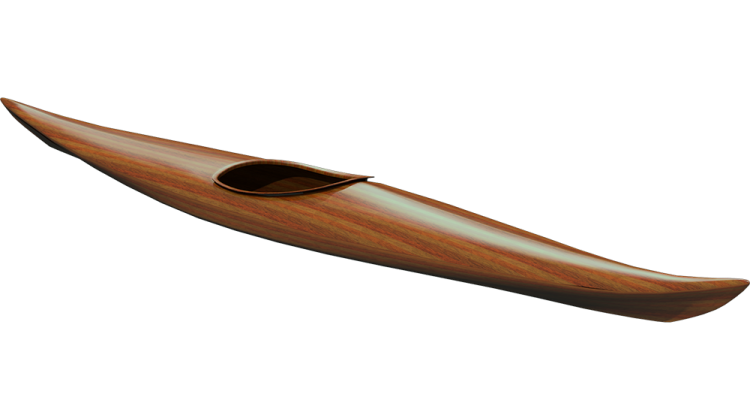
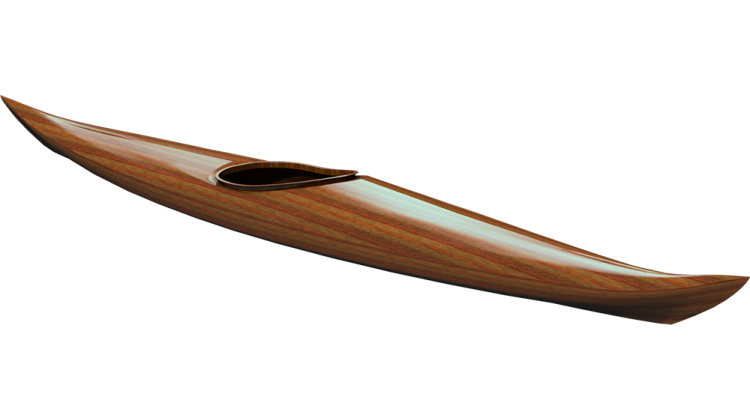
If the Stitch and Glue Night Heron has a PMLTB - Piece Most Likely to Break - it has to be the coaming riser. This is a strip of plywood about 3/4" wide by about 6' long that is bent into egg-shaped ring. The grain needs to be oriented across the width to allow the plywood to bend. The whole thing seems pretty precarious and its kind of surprising that the finished product would have any strength at all, let alone be rugged enough to lift a loaded kayak from.
The example in this video was one I made several years ago from a kit cut by Chesapeake Light Craft.
Start by marking the shape of the coaming on the thigh braces. Use the coaming lip as a template. Align it carefully and lightly scratch the deck with a utility knife or use a pencil.
Assemble the Riser
In the kit, the riser comes as two pieces. The shorter bit will be the back of the coaming and the longer the front. It doesn't matter which ends you put together, both parts are symetrical end-for-end, but you do want to put the joint together so that it fits appropriately. The edges should make a continuous smooth line when put together.
A little CyanoAcrylate (CA) glue will hold the joint together. This is not very strong at this point, treat it with care.
Reinforce the Riser
It helps to reinforce the outside of the riser with fiberglass reinforced packing tape. At this point either side can be the "outside". Stick down straigth strips of tape without wrinkles. Rub the tape down well to be sure it sticks.
Start Clamping
In the middle of the back piece there are two stitch holes about 1/4" (6mm) apart. This marks the center of the back of the riser. They are closer to the bottom of the riser. There are corresponding holes at the back of the cockpit.
Clamp riser in place with the holes lined up, the tape on the outside and right on top of the edge of the cockpit hole.
Use the tips of your spring clamps. This allows you to direct the clamping force to keep the riser aligned vertically.
Carefully start bending the riser around the cockpit. Move fairly slowly, the wood may make some light cracking noises, this is normal. Put a few clamps on as you bend. Attempt to get close to the edge of the cockpit hole and go directly on top of the scratched mark on the thigh braces.
When you get all the way around, use CA glue to butt the two ends together. Put a clamp on the joint.
Adjust the Alignment
The riser should align directly above the edge of the cockpit hole, with half the riser overhanging the hole, and half on the deck. You will need to move the riser in and out, and also move the length of the riser latterally along the edge. This will require some releasing of clamps and re-clamping else where as you push and pull on the riser. Keep on adjusting until you have equalized the error all the way around the coaming.
Take your time to do a good job.
It is possible that you will actually break the PMLTB (there is a reason for that designation) this is usually not as disasterous as it sounds. I usually just butt the broken ends together with CA glue and clamp it in place as is. There will be a fair amount of sanding being done before the whole thing is finish, and this will mask most problems.
Strip off the packing tape. Peel it carefully as there is quite a bit of stress in the plywood and the adhesive may pull at the wood fibers.
Spot Weld
Use small dots of CA glue along the joint between the riser and the deck every inch or a couple centimeters. Spray it with accelerant and let the glue set up for a minute or two.
Pull off all the clamps.
Install the Coaming Lip
Align the coaming lip on top of the riser. Try to get it well centered left-to-right and fore-and-aft. Put a clamp at each end and check the alignment. Add a few more clamps and see out the alignment is doing. Again, just use the tips of the spring clamps, grasping right on top of the riser. It sometimes helps to take the rubber tips off the spring clamps. Clamps may go Sproing!
Try to equalize the error all the way around. Unclamp and reclamp as needed.
Spot weld the joint between the lip and the riser with small drops of CA glue. Be careful not to drool glue down the face of the riser. Spray the glue with accelerant. Remove clamps and glue where the clamps were.
This is as far as I have video for at this time. The kit and plans instructions include descriptions to take you from here.