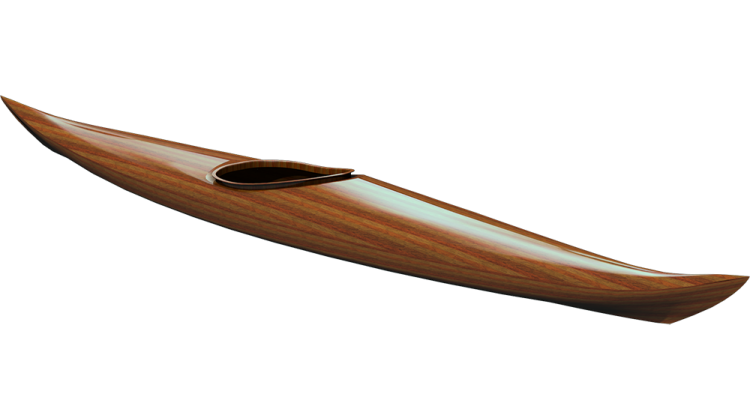
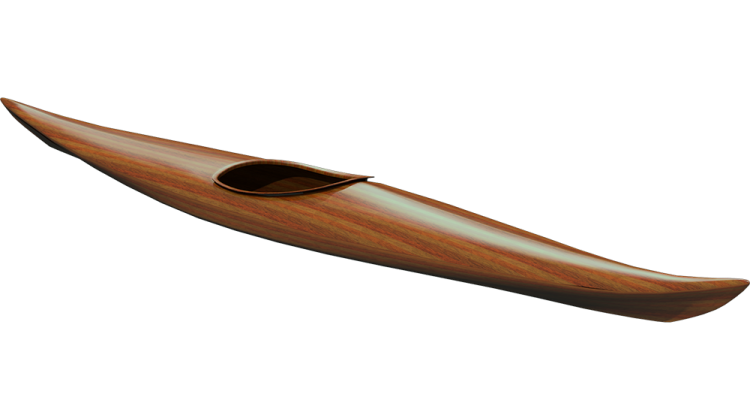
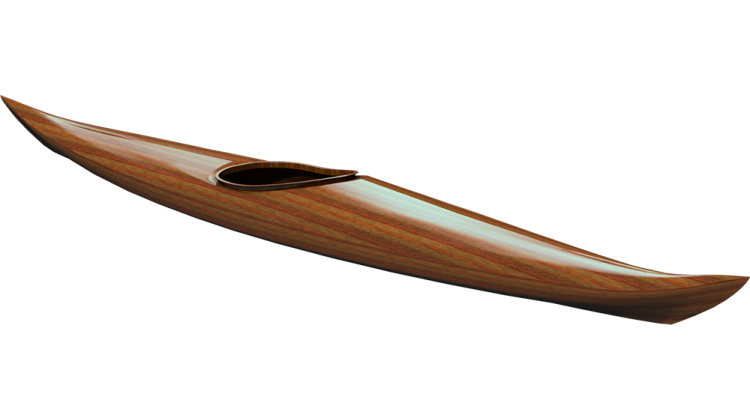
I'm applying two different sort of fill coats in this video. One is quite light and the other is heavier. The hull will eventually get another layer of fiberglass, after I have joined the deck in place. Until then I don't want the deep pits in the weave of the cloth to fill up with gunk, so I roll on a fill coat to fill up the pits but not so much that there is a thick layer of resin between the original layer of 'glass and the eventual next layer. The deck will not get any more cloth (other than at the seam) so I apply a heavier coat with a brush.
I'm applying these fill coats a couple hours after wetting out the fiberglass. The best time to do the fill coat is after the resin has started to set up, so the new resin does not float up the cloth, but before the resin has set up hard. The cotton swab test is good way to check this. When the resin is still wet it won't grab the cotton, when it's dry it won't grab, in between it will.
Judicious use of a heat gun is quite effective at busting bubbles. It lowers the viscosity of the resin and expands the air in bubbles, causing them to pop. You can just make out the little craters of bubbles popping in the video. Many bubbles are attached to little specks of dust, the heat does a good job of leveling out the dust and making a smoother surface. WARNING: the hot air can really make a mess if you let the surface get too hot, move quickly and don't get distracted while the gun is aimed at the surface.
Cheap chip brushes tend to lose bristles, I try to remove as many loose bristles as I can before starting, but inevitably some come off on the kayak. I pick them up with the brush as I notice them.


