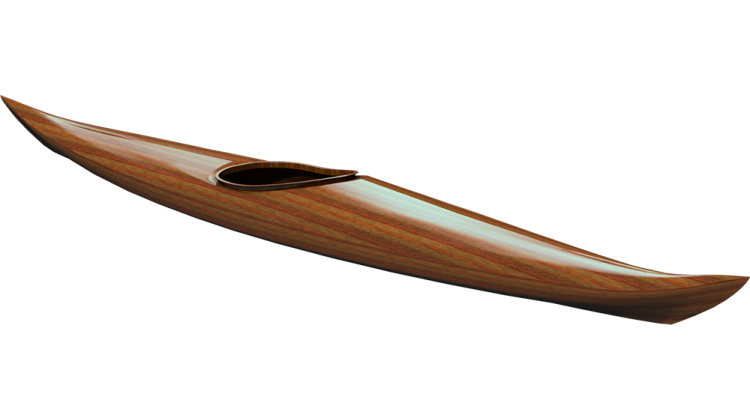
The sheer strip on the deck are similar to the sheer strips on the hull. The difference is that now you have existing strips to fit agains. Like the hull I chose to taper the ends of the strips to match the sheer strips on the hull. I tapered both sides at the same time. The thin strips tend to wander around a bit as you plane in the taper so I just put a small tab of masking tape on the bottom to hold the two strips together.
Planing a taper just means planing more off the end than off the middle. This just means planing the end more frequently than the middle. This is easily accomplished by starting planing just the tip and then step farther and farther back so you are planing more and more. Then just keep repeating this process until you acheive the desired taper.
I do not show the process of planing the rolling bevel in this video, but you can find examples of that in my other videos.
The sheer strips meet at the bow and stern. I want to make neat joint where these strips meet. I start by marking where the centerline would appear as it crosses the sheer strips. I then cut along this centerline with my pull saw. I clean this up a bit with a plane. Planing may be enough but pulling a saw through the joint is a very effective method for getting a tight joint.
After the ends are fitted to each other I tack down the strips with hot melt glue. Note that the sheer strip of the deck is not glued to the sheer strip of the hull. In this way the hull can come off the forms and the forms can be removed.

