I like to do most of the work before gluing the scarf on the shaft together. This just keeps the parts easy to handle while doing the work.
Since the paddle shaft is a bit oval, the scarf does not fit together in a perfect match, you will need to eyeball it a bit to make sure the two halves are straight and true before the glue sets up.
You can then finish shaping the shafts in the scarf area and start the finish sanding process.
Coat everything with a coat of epoxy after it is all smooth. This serves as a solid base for the protective coating.
Before the final finish coats give the whole paddle a through sanding up to at least 220 grit sandpaper.
In this case I use a 2-part automotive style clear coat that is available from Amazon, but you can also use a more traditional marine spar varnish.
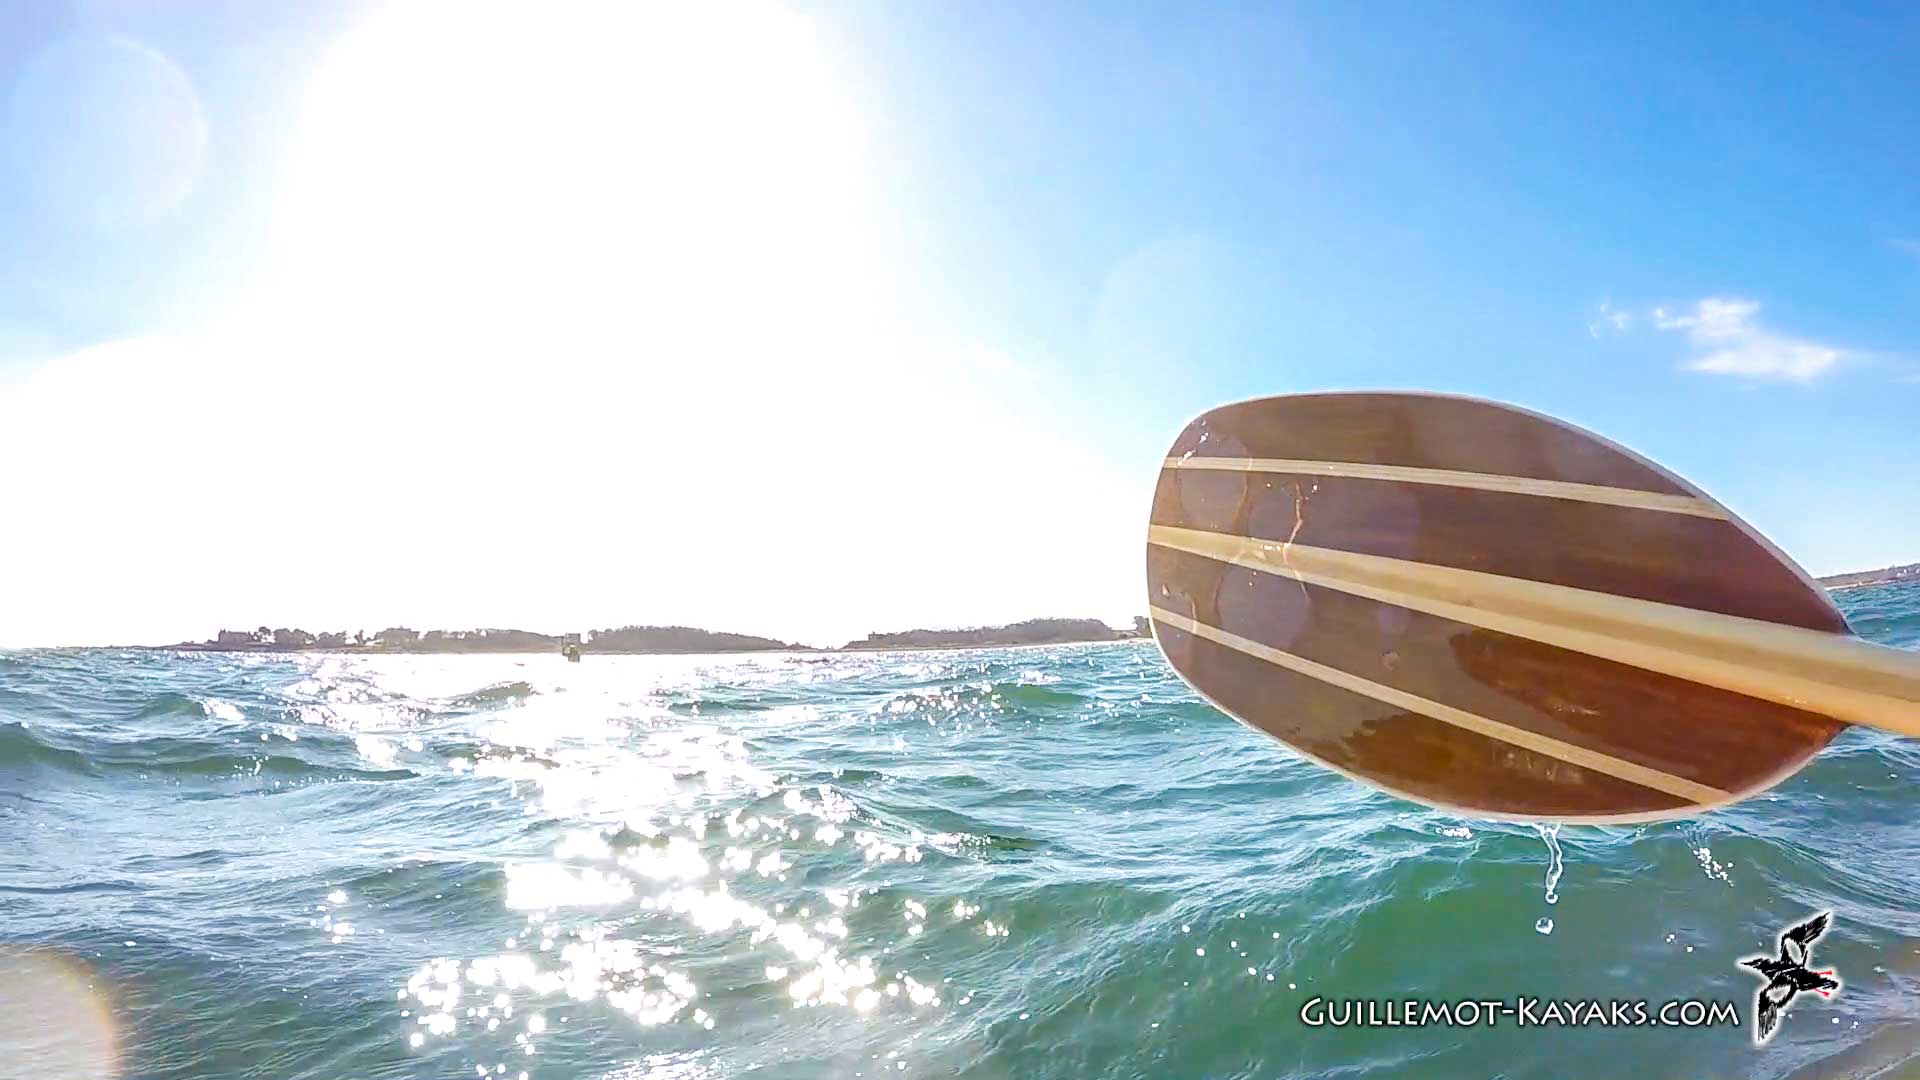
The finished is lightweight and strong. I prefer the feel of wood in my hands over fiberglass or carbon fiber. Especially in the winter it feels warm and comfortable.
Happy Paddling!
Assembling the scarf on the feathered
paddles is a little bit tricky since the
angles are weird things don't line up in
a logical obvious way so the best thing
you can do is do some dry fits play with
it a little bit and what it's going to
come down to is just eyeballing it
trying to see that the paddle is
straight a couple things I try and do I
try and line up the tips of the cut here
with the end of the scarf cut here
approximately the tip of this broken off
a little bit but that will give you a
rough guide and then trying to sort of
split the difference on any error on one
side versus the other what makes these
particularly tricky is the shafts aren't
square so their dimensions through the
spine are different than their dimension
across the shaft so things don't line up
in the way you might imagine so the
first thing I do is just scuff up this
scarf cut with a little bit of sandpaper
just just open the pores a little bit
make it so the glue is gonna adhere
better and then just put it together and
you'll find that there's sort of a wider
side and a narrower side if you put the
clamp on the narrower side it tends to
want to squirt it out so if you stick it
on the wider side and this is due to the
fact that it's at a non 90-degree angle
and again we're going to try and line up
these points here a little bit
just trying to look at the amount of
wood showing on the scarf he ever see
his mountain wood on the scarf here try
and make that fairly even I'm gonna just
look down the shaft try and see if it's
straight and if it needs a little
adjusting so again I'm doing this dry
right now just to get a feel for it
you know once the glue gets on it's
gonna be a whole lot slippery er and
harder to have everything stay in place
so just getting a feel for what you're
gonna have to accomplish once the glue
is on there makes life better you can
then take a pencil and make a few marks
here just to help you get a sense of
where it's gonna have to go when you put
it back together then we'll use a
waterproof wood glue and it on here
spread it around a bit
and see it's much slippery right now
and then wants to slide lengthwise
once you get it lined up put it aside
and come back and check it in a few
minutes make sure it's still straight
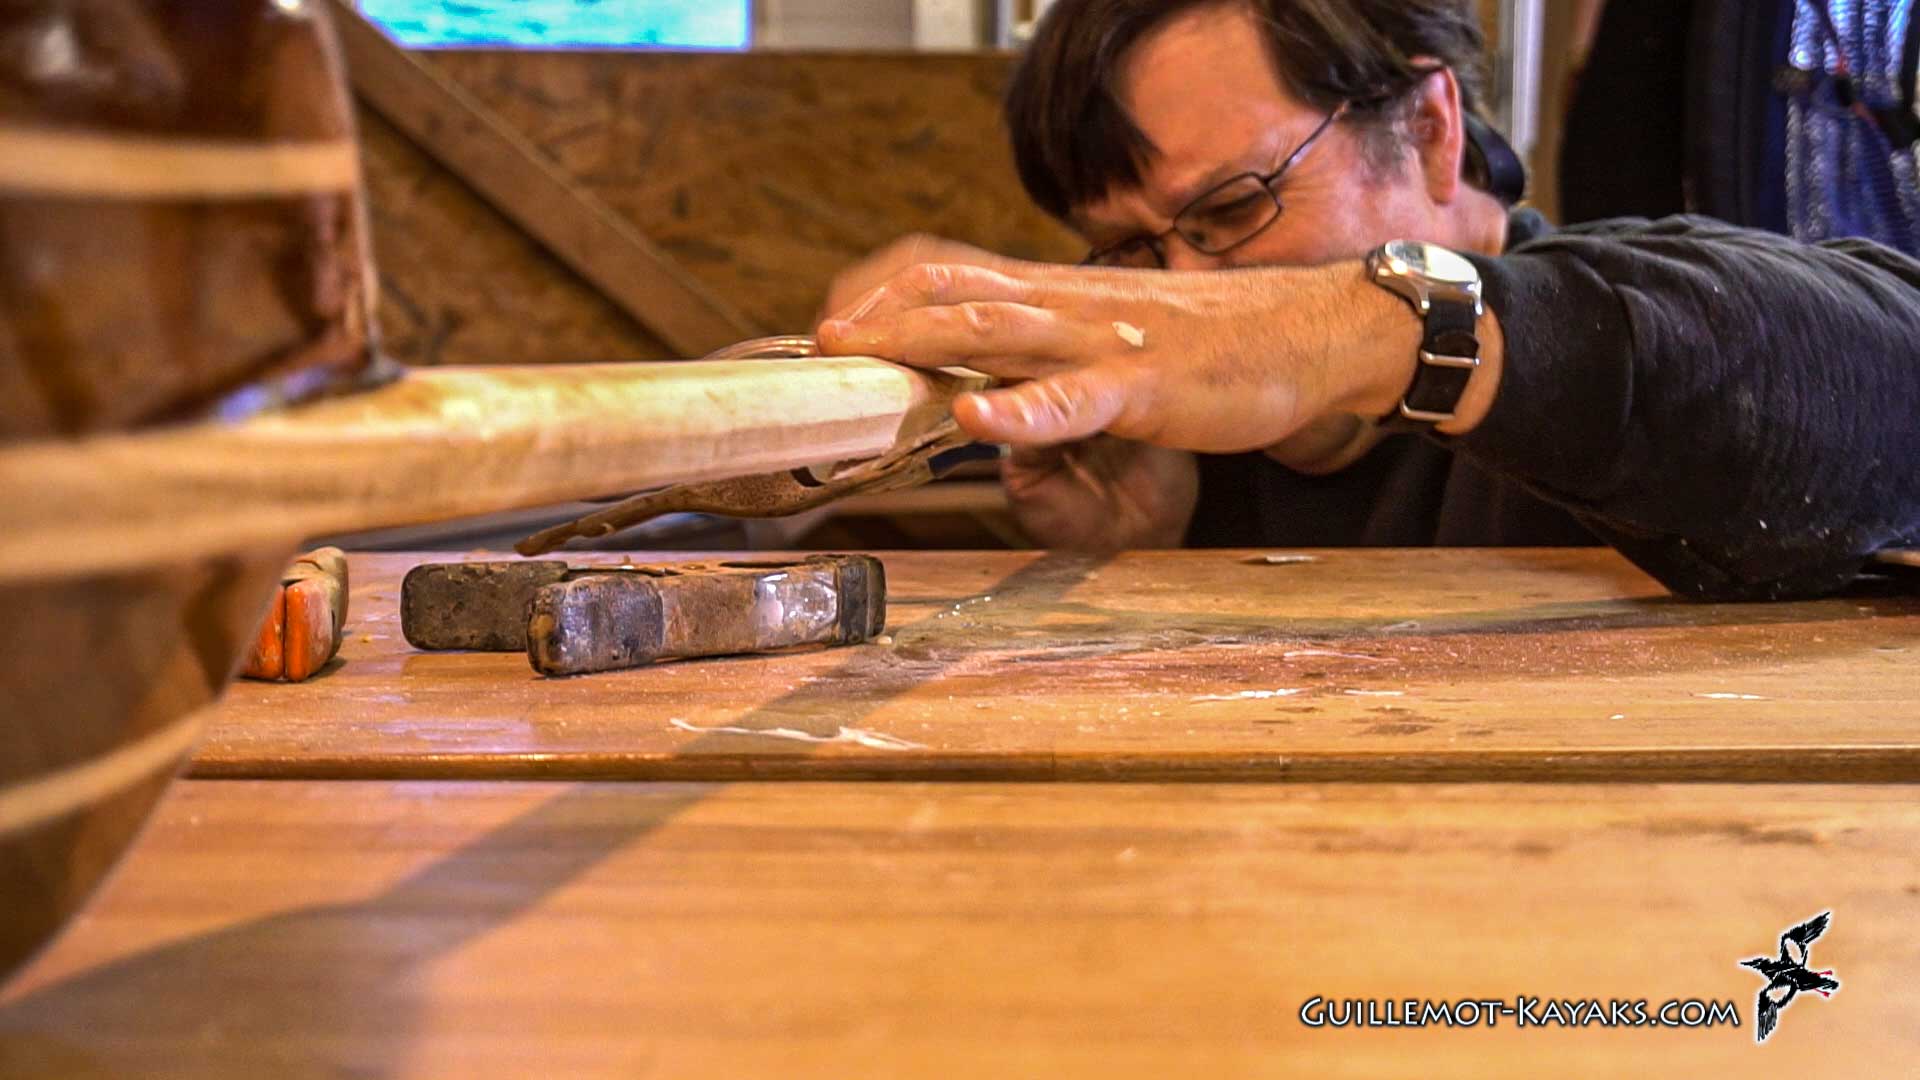
now that the glue is dry I want to blend
in the scarf joint here so basically I'm
just going to aim down towards the flats
here so take this point down to the flat
here take this point down to the flat
there and likewise all the way around
and then start blending in the radius so
I have a radius here I'll start blending
that in and radius here start blending
that in and just merge it all together
once I've got the scarf rounded out or
at least roughly rounded out I want to
start refining the overall shape of the
shaft and I'd like it egg shaped so I'd
like when you grip the paddle to the
knuckles would be a little bit narrower
on that side than it is on the palm side
it's already a little bit oblong in that
it's thicker this way than it is this
way so it's wider or taller than it is
thick so it's got an oval shape which
will help index you the hand to more
obvious where the blade orientation is
going to be but also it's just a little
bit more comfortable if it's a little
bit egg-shaped and a little bit narrower
so this part of the hand is in the
narrower spot and this is a little bit
beefier spot so the first thing I'm
doing is I'm just going to go ahead and
so concentrate on that side of the
paddle with the plane so I'm tapering it
in slightly towards the back face of the
paddle that's being the back face front
face so I'm tapering it slightly towards
the back face then once that's tapered
in there now I can start working on
getting rid of any sharp edges so again
I used two one inch diameter round over
bit half inch radius to start this round
over but I've got inch and a quarter by
inch and an eighth here so it left some
flat spots top bottom left right I want
to get rid of those flat spots so I'm
just going to start blending that
a little bit and I find a variety of
tools actually worked pretty well for
this right now I've got a Nicholson rasp
the block plane works one of these
shinto wood rasps works pretty nice and
I have these Japanese float style planes
that's all depending on which wood
you're working on some will work better
than others
so I like to have them all out and I'll
sometimes they'll just change because
I'm bored I want to get rid of the flat
spot on the top edge here in the bottom
edge and this will all blend in a nice
smooth curve Sitka spruce is a tough
wood and as a result it does get a
little bit of tear out it'll pay
attention to the grain
the final arbiter of whether you've
shaped it well is if it feels good to
the hand that's the only thing that's
really going to matter in the long run
is if it feels good to your hand because
your hands going to be touching this all
the time you're using it and if it feels
good it is good
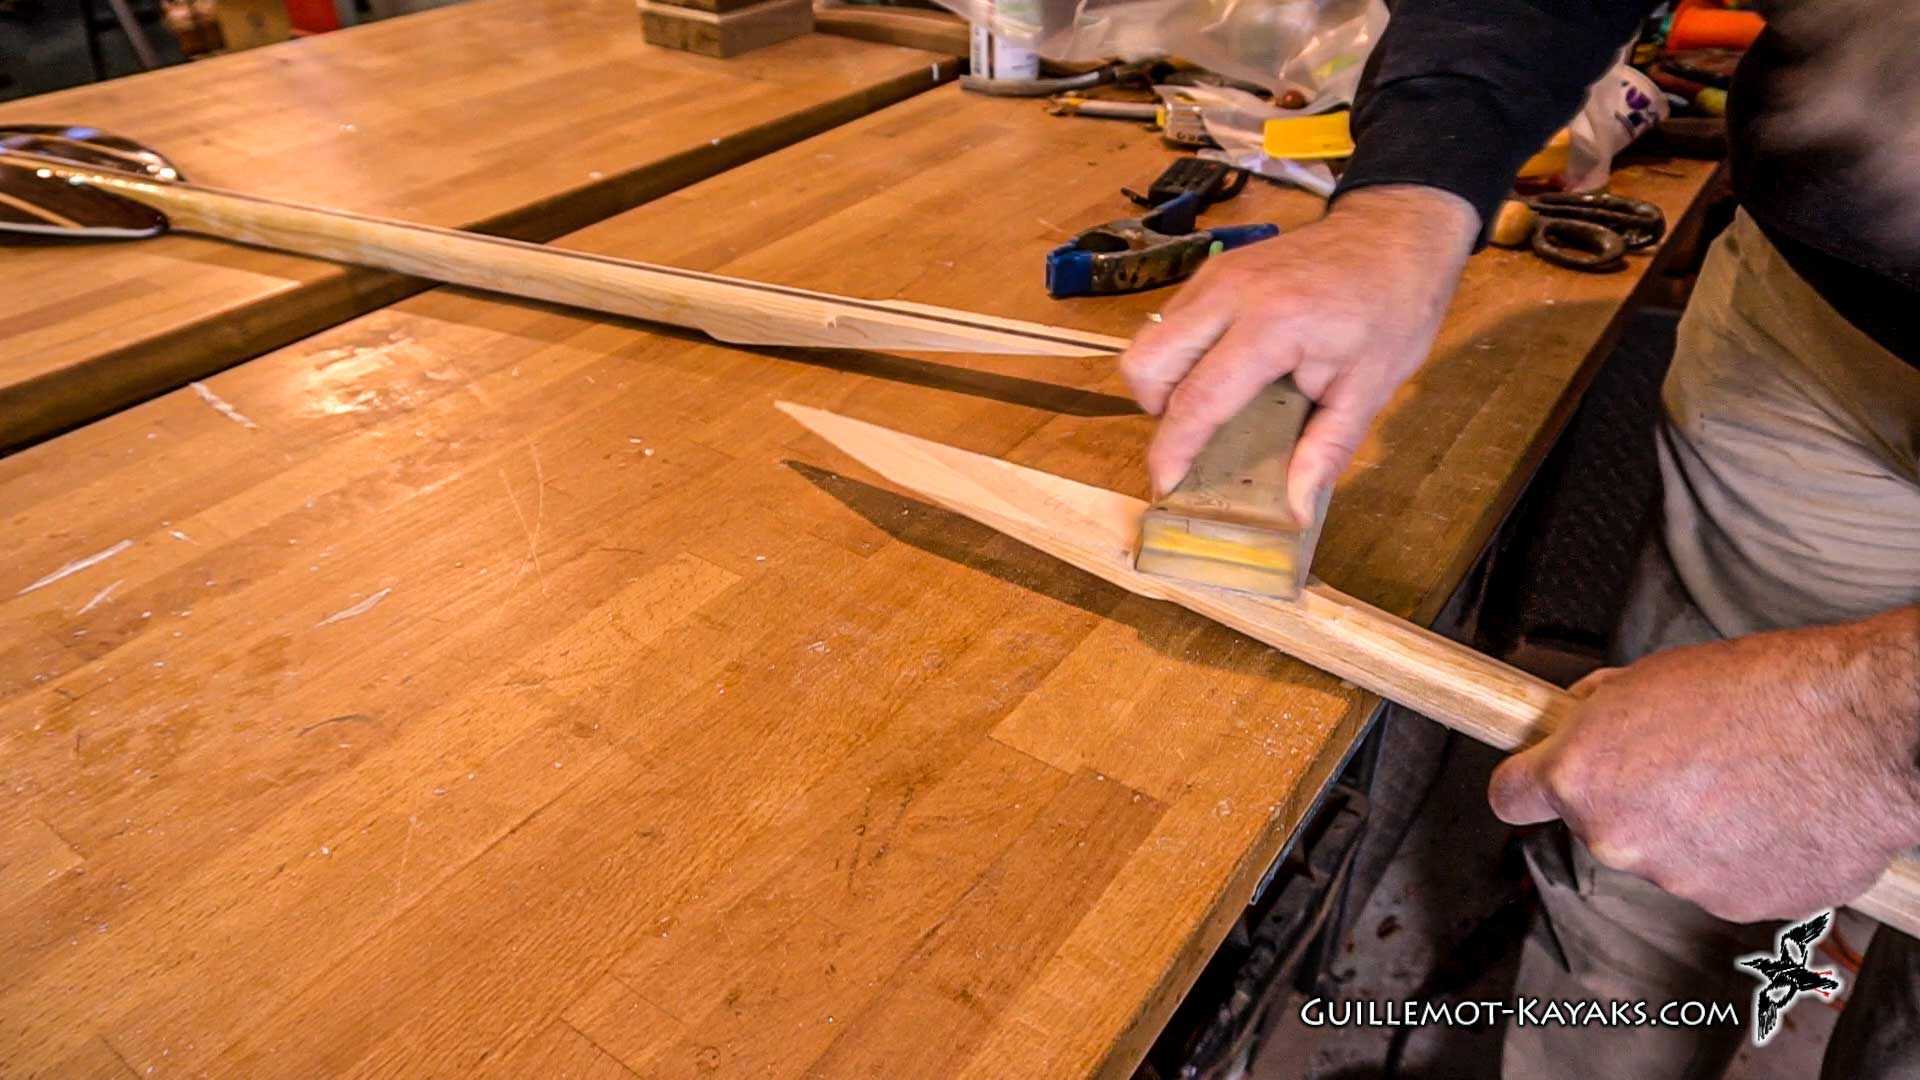
I found one of the better ways of
getting a really round shaft or smoothly
rounded shaft is the shoeshine method
I'm going to start with some 50 grit
here and work up to higher grits and
you'll see with how it goes
[Music]
[Music]
so I ended up putting two coats of epoxy
on all the blades and the paddle shafts
just to make sure I had a good level
surface there get that sanded smooth and
it'll look really nice and the epoxy is
like the best primer you can put on the
shaft as far as something that clear
coats will bond to really well and bonds
the wood really well so at this point
I'm going to sand everything smooth get
it ready for the clear coat I could use
a varnish on it but I'm planning on
using the same two-part rattle key and
stuff that I used on the micro
bootlegger sport I think it'll be a good
tough finish for the paddles lasts a
long time and it gives me a chance to
actually use something that I've used
that product on and see for myself
really how well at last I've only used
that for customer products before so
that's my plan and the good a good teach
one nice and it finished should be a
good place to start applying that clear
coat so I will start at a 120 to level
the surface and work on left with the
power face of blade first that will be
the easiest to just get leveled down
I'll do some power sanding on the back
but with all the contours the power
saying there's not quite as effective
where I need to get into the details a
little bit more I'll crank down the
speed on the power of Sanders so I don't
end up burning through this epoxy
finished and then from there I'll go on
to hand sanding and I'll do the 120 and
then go to 220 you'll see I've got some
little clamps here on my sawhorses it
just sort of tame the paddle so I don't
have to hold on to it while I'm singing
[Music]