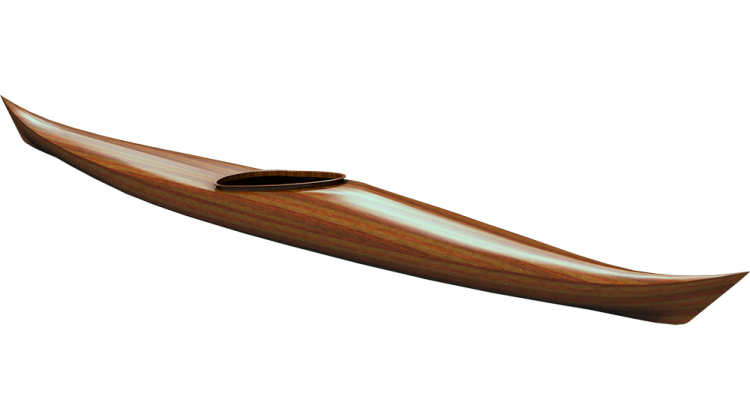
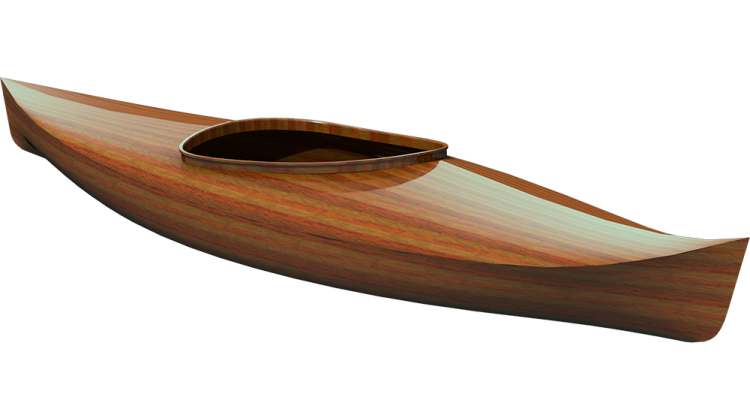
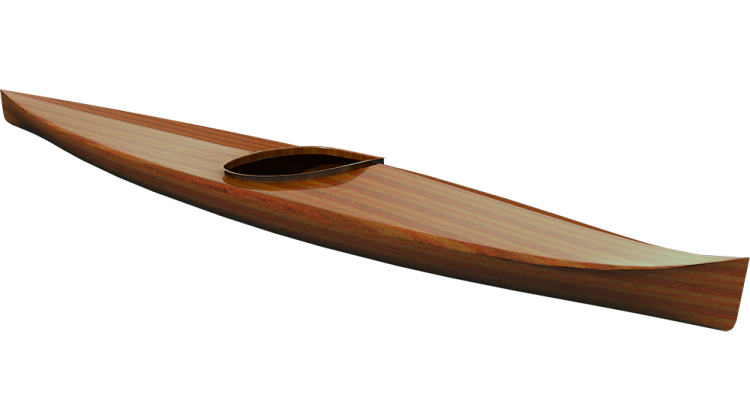
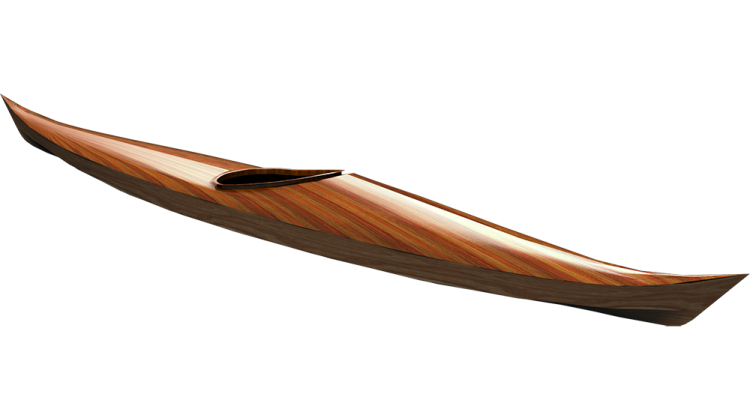
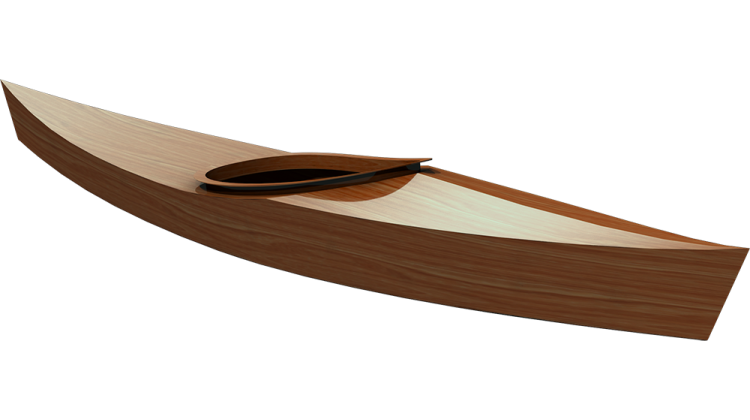
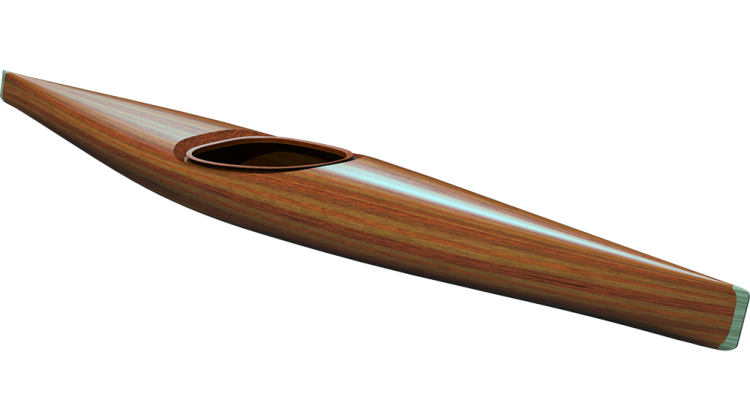
We're back at it on the Petrel play kayak build. Last time, we had gotten all the deck panels joined up with wires and loosely fitted together.
In this episode we started off by checking all the alignments and tightening up them wires where needed. The goal is getting nice smooth joints on the outside and tight seams on the inside. We worked that combing first since that's one of the trickier spots. Took some wire tweaking and adding a couple extras to pull it all snug.
With things lined up proper, we busted out the CA glue and went to town spot welding all those seams in place. Just little dots every few inches was plenty. The accelerant helps it set up quick so you can hold pieces if need be. We did the cockpit combing next before the side deck seams. Having them hatches and combing right is real important for getting the angles all fair.
Up front on the foredeck we ran into some twist in the panels. Took some doing but we got it wrestled into shape. You gotta massage these wood panels a bit like a natural product will do. Any gaps we just held tight until the glue grabbed. By the end, we had her all dialed in with wires pulled and ready for filleting!
I decided we'd wrap things up there and pick up with the filling and glassing next time. These videos let me see where ol' Bill here is struggling so I can go over that stuff again in the future installments. So if any of y'all viewers have questions or problems, sing out in them comments now! We'll keep on moving towards getting this pretty little boat in the water soon enough.
Welcome back to The Guillemot Kayaks Workshop. Uh, I’m Nick Schade. This is Bill, and we are working on the Petrel play SG kit from Chesapeake Light Craft.
So far we’ve put together the hull. Now we’re working on the deck. In the last episodes, we had assembled the deck panels and then put them together. Right now they are wired together but not yet glued in any way, and they’re just kind of loosely wired together.
So Bill and I are going to go through and, first thing this morning, check the alignment on all these panels, tighten up the wires as necessary. Then we will come through and spot weld with the CA glue. We will end up tightening the stitches here, spot welding with the CA glue. After that, we will pull all the wires out; fill it; and then we will fiberglass.
We’ll see what we get to today. This will probably end up on several episodes just to keep the length of each episode reasonable. Again what we’re trying for is a nice smooth joint here on the outside, and tight joints here. It’s a matter of feeling underneath, then pulling on the wires to tighten them up, and giving them a twist to lock that tightness in.
So this movement here is something that would need to be addressed. I'd like to address that. Yeah, let’s get that on camera. So Nick, there’s some looseness here on the cockpit on the combing. So this will need to be addressed before we spot weld, yes. Yeah I'd like to make that nice and tight in there. And right now you feel the the level of the recess is not even with the deck. And just closing that gap makes a nice, nice and smooth across that seam.
Okay, we have some stitches in here which may or may not be enough. If we find that we can’t bring it tight with the existing stitch holes, we can come through with our little drill and make some new ones in there if that’s what it takes. It is also possible to just hold it together and spot weld it with some glue, hit it with accelerant, and then hold it until that cures. But it’s sort of better to get everything lined up, and that way you know it's going to stay right.
The other way if you miss, then you have to undo it and it takes more time. So, can you can you reach that wire underneath? Yeah. This is a situation where we’ve done the twist underneath, where some of these twists are done on top where they’re just easier to access. So it’s one of the things to consider when you’re putting the, the stitches in, is how easy will it be to access and work on everything? Using everything I got here - my body, my fingers helped a little bit. Yeah, looks looks a lot better. Oh, that’s perfect right there. We could go ahead and just glue that while while everything’s good. Is that one gummed up?
Yeah I don’t know. I didn't didn't want to find out when I was trying to put the boat. So yeah, so yeah just inject a little bit in there. And this is all nice nice. I’m probably doing this too close together huh? If it’s some place that was struggling to stay together add more dots. But if it’s someplace that’s staying together easily then every couple inches is good.
Should we keep going? Uh, how’s the whole thing feel? This this side is good. Yeah doesn’t yeah no. Yeah I let’s go ahead and get that whole thing put in there. I don't see any light gaps either. Yeah and it feels good on the on the underside and that. Yeah the combing feels like it’s where it should be. Good so it went that far and then it now I can feel that it’s a little off. So have to realign at this point that I think I went a little fast, not it dry?
You get carried away and you want to keep going. Yeah it still feels good here. All right, that feels good. This feels good. Okay so the goal of these spot welds is just to hold that together long enough that we can take the wires out, and then do a fillet on that seam. And then we will glass it. And so the strength of this, it doesn’t need to be all that strong right now. Just needs to be strong enough to hold together while we’re working on it.
Sometimes you get you hear an audible too when it clicks. Next section is still a little unaligned so I just got that lined up so it will stay. I'm seeing a little light gap right here. Should we try to get this tighter? Or is that something that will fill it and be good with? I think that, that looks tight. You know it’s like a hair’s breath, like gap there. I I think that’ll fill up with the filling mix just fine and be plenty good enough.
I know with my woodworking, that's always something I have to consider - is how critical is this to get it perfect? You know it, it’s an aesthetic choice at this point. That comes together really nice in the end. Nice and smooth, nice and smooth. Yep, beautiful! That came together nicely. So that’s the back hatch.
We want to do sort of the same thing right here in the cockpit area. The order you do this cockpit versus back hatch doesn’t make that much difference. The front hatch is a little bit more difficult. So we will, uh, address that a little bit later. There's a lot going on up there. But let's again line up these seams, make everything, make sure everything’s lined up nice, and they're reasonably tight. And we'll spot weld that in.
And again the order of operations here, whether you go and tighten up all the wires versus doing a section and then spot welding it, it’s not that critical what order you do it. Just so long as you achieve the result, I would not work on the side seams before doing the, the hatches or the combing, because things can be out of alignment there that’ll throw off getting a tight seam in the cockpit or hatch area.
So work on these difficult parts first, and then work on the rest. So we’ll just start fixing up the cockpit here. So essentially if the seam is quite tight and I can align it with my fingers, there’s really no further tightening of the wires I need to do. You know if if you’re finding it’s having trouble staying in the appropriate place, you know maybe shoot another wire in there just to put another stitch in and hold it. And this intersection of the back deck seam, the back of the combing, and the side of the combing, there’s a lot going on there.
It might be worth just throwing another stitch right in here just to hold that. The other thing you can do if you’re not able to pull the twisted side anymore is sometimes you can just take and put a little bit of a kink in that wire on the inside, or the opposite side from the twist, that actually brought it together quite a bit. All right, so this still has a bit of a gap. So I’m going to try your method of twisting the top of the wire to put a little kink in it.
Yeah you can overdo it. If it breaks, you’ve overdone it. But okay that looks good. So I do you think this needs another one? Yeah I think it does. Or or I I could hold it. But a little bit more twist on there. It could get a little wonky. Oh this is this is coming apart completely. So that one, that one has some room to be tightened up. I don't know if it broke or if it just was not twisted enough. Yeah I think kinda stopped fresh ‘cause I think it’s so twisted up now it’ll be difficult.
And I can poke it up so it’s easy to work with. Yeah, that worked pretty good. Oh good! The, I think the orientation of the wire helped with that ‘cause the back of the wire is, yeah, bridging that. Yeah. This one here might be kind of the same thing is going on that the wire is going down and it’s not. Yeah going to switch that around. Okay good, yeah! So I guess that’s part of the process of the discovery is, uh, yeah see. Yeah you’ll find out what works and what doesn’t work. And it it’s always okay to pull a stitch out and put a new one in.
I don't know. You think that still might need a? It’s still a, that looks good. It’s good! So the light shines through this gap and, you know, conceivably I could press it a little bit tighter. You know it’s less than a 16th of an inch. Okay so we got that nice and tight. And it's tied all the way down, all the way across the front. There’s a little bit of a gap right here and back. Let's try that, that little kink idea. That’s good! Good oh look at that! Yeah nice! All right so let's go ahead and spot well these.
It doesn’t take much of this accelerant, just a little misting on each should be good. Yeah you don’t need to hose it down that much. Just just the light mist is all it takes. It doesn’t need to be soaking wet. Okay so that’s the, the cockpit. Why don’t we work down these back deck seams, get those lined up? And then we'll think about the front deck.
Should we get another wire with or just pinch that with our fingers when we get up there? Yeah I think we can pinch that with our fingers. So before we lock this in place, we want to make sure the panels are kind of fair. And it’s can be a hard thing to detect. But looking down this line, there’s a little. This panel here I guess the easiest way to look at it is the angle of the pencil here versus the angle of the pencil here.
So here it’s sticking up more; here it’s a little bit flatter. We want that to be fairly even, or change evenly. There’s sort of an abrupt change from this side of the form to this side of the form. And it’s a little bit hard to see. If you sight down this line here, this edge almost looks like it’s a little convex this way. It’s generally just a matter of sort of flexing the panel a little bit, which might stretch the wires some, just to get that shape there a little bit more uniform and consistent.
And again check that the outside seam there is tight and smooth. So we’re again, we’re looking down along that seam. And this, this side looks pretty good. But again if we just sort of flex everything out, make sure it’s sort of sitting comfortably there, we should be good. And the transition will across this form is nice and uniform.
So you mentioned before that one of the things you want to make sure is that this is tight to the form, yes. Yeah, so you don’t want gaps here. That’s right. Yeah, the angle of this form right in here, we want the panel flush down against that form that’s defining the angle of the, how the deck will meet the hull. And it’s really that angle which makes sure that the, uh, width of the deck matches the width of the hall. Okay and since we don’t have forms everywhere along the length, that what we were just, the process of eyeing down here and just checking that everything looks like it’s, uh, flowing smoothly - that helps us make sure that angle is good everywhere along the length.
Because once you put in the fillet then the angle is set in stone, is pretty locked in up in here actually between the cockpits. We have a place where there’s a little bit of a, a transition. So looking down this line up here looks a little bit funky. So here again looking down this line it, this looks a little up, these look a little down. So we can flex it a little bit in here to sort of see if that will smooth out a bit. And it doesn’t need to be perfect. Even once the it’s filleted and glassed, this deck in this wide area will still be pretty flexible.
So when we want to put it down on the on the hall, the hall and deck will have words with each other and decide what’s appropriate. You know they’ll they’ll come to an agreement. That’s good! So once we’ve got, um this back seam all taken care of - and it looks pretty good, feels good across that transition - we can go ahead and spot weld it. So again just a couple spots per stitch, and inject it nicely into that seam. And if you feel a little bit of a step between the panels, you can hold it while that accelerant doing its thing.
And yeah then this piece just tucks up in there as best it can. You’ll notice that, uh this this end broke off at some point. It’s not a disaster; this was going to end up being the deck hull joint there which will get rounded off a lot. We’ll probably have a little bit of filling in there, and you won’t notice it. But for here where we do have the piece, we can just go ahead and put a couple dots there to hold it. And give it a little spritz.
Okay so that’s the back deck. Now we'll do something similar on the front deck. Let's get that front hatch dialed in. So again there’s a lot going in around here. Oh yeah. So let’s try and get that pulled together. And I think this has a little bit of sort of twisting action here that we’ll want to deal with. So this is a lot going on here. And this, this joint up here again just like the back deck, we want to make this nice smooth on the top edge as much as we can.
And see how the wires work for making that happen. And yeah there’s a little broken piece in there. If we can get that deck down next to the side deck it should be good. And if there's if we can fit that little sliver in afterwards, okay great. If not the fillit we'll fill that in. Again if if it’s useful to put another wire through there just to have another thing pulling on it that’s permitted. Well I I suspect it doesn’t hurt to have that nice and tight to hold that.
Okay so let's work on this side for a second. So right now this side of the deck panel has fallen off the edge of the combing recess. So we want to get that pulled up. And at the same time we want to get the bottom of the side panel even all the way around. So we’ve got three seams, or two seams, coming together here in one close place. And we want to keep it all nice.
So this may be a situation where we end up just sort of spot welding it, holding it while holding it. But let’s see what we can do with some wires. So there’s some unoccupied stitch holes right in here, this one and that one through there. There it goes! So I’m going to get that seam tightened up. So between the deck and the recess, pull and twist. That’s good and tight there. And there’s a stitch hole here. I’m not seeing one the side of the recess.
I’m going to go ahead and give this a matching one to bridge. One thing to pay attention to when you’re grabbing it with your pliers is I’ve crossed this wire. So this wire is in front of this wire. So it wants to naturally twist this way. If I tried to twist it the other way I’d be untwisting it initially. So when I go to grab it with my pliers I hold it in a way that I’m ready to twist it in the direction it wants to go, kind of like winding up for the pitch!
And then we have this next piece for the four deck that’s going to slide in there too. So there’s a lot going on right in there right now. I still have this thick plywood piece in there to hold the shape of that flat surface. It’s probably not strictly necessary. If I were to take these clamps off this piece is not bending any. So it’s staying in shape. So this if this piece is getting in your way, go ahead and take it out. And right now I’m thinking it wouldn’t hurt to have another stitch hole right there.
So I’m going to split the difference between these two, pull the slack out of that wire, get a little bit of a twist started there. And again pay attention to which way that’s going to twist. It’s going to twist counterclockwise if I started it like that; it would want to twist clockwise. So leave it at seal clockwise and then just grab those two wires give it a twist. So it’s tight up to there, that another twist. That’s good all the way up to the center line! And I bet we can get the other side try and get this lined up there the wire good yank!
Sometimes you can even sort of kink the wire a little bit. Actually I may have almost done it. Now we’ll go go ahead with another stitch hole. And I can find it easier to go through here and then around the other way, the long way, just so I’m not trying to do it blind from both sides. So that’s looking pretty nice! And this side is good; inside’s good. Let’s go ahead and get the seam while everything’s being held nicely in place! That’s the back half of the recess. And now we have complicated things going on here at the front half of the recess. But same process - that kink method works well!
Yeah it can work great. Yeah I see a gap here, Nick, that there’s no stitch there. Would we want to put a stitch there to pull that together? Or yeah - I try a stitch there. There’s a little bit of a kink in this panel due to the puzzle joint going on there. But let’s go ahead and see what we can do with the wire. I bet we can pull that pretty tight. I think we need another one here. Yeah go for it! Wood's a natural product so it's not like everyone's going to go together exactly the same way. Some are going to be tighter in one place, some tighter in another. And we don't want to just randomly pump it full of holes wherever. Where a hole is necessary go for it! You think you can hold it and glue it?
Yes, I think so. That's always a viable solution also. How about this over here? You think you can get that pulled in with another wire? Yeah I think that will definitely come in. This - I like this little hand drill but you could just put a 16 inch bit in a power drill and do it that way too right? Yeah again I can - I'll sometimes go through this way, down and around and back out if I can see one of the holes and the other one's really hard to get.
Then that can be a lot easier. That's a lot easier! Hey success! Excellent - together quite nice I think. I think that's pretty good though! Yeah it's still holding! Good, beautiful! I think I need another stitch here to hold it up. Yeah if if you think it will help, go ahead and put in another stitch. We do want to make sure everything here, all sort of this seam, needs to come together at the same time.
So yeah - let's go for another stitch in there! Okay, see how it works. And then probably don't want to get too close to this joint with the stitch, right? Well it doesn't matter, doesn't matter at this point it's going to be fine. Okay yeah that's a better - I think we can hold it and that'll be all right. Can we get this seam over here tight at the same time?
Beautiful! Yeah, now do we want to stick that little piece of wood we had back in there? There is a - if it fits. So over here there's a little gap also where the tip, the sharp tip broke off. We are going to be putting a big fillet down there. And if you remember on the prototype boat, I've sort of put a - the finger hole in that sharp edge. So the, uh, this recess will drain.
So I put a big fillet in there and then sand into that big fillet to make a little bit of a drain hole or scupper into that, uh, recess. So you're saying these little edges don't matter that much? Yeah - you know we can make a valiant effort to put it in there but if if it doesn't work we won't worry about it. So if we've got this nicely around here, let's go ahead and, uh, get that glued down in place.
Alright and if we need to hold it to keep things lined up while we're doing that we can do that. Yeah this little spot in here is where the this panel broke a little bit as we were bending it in place and so there's a little bit of kink in that shape. But by just holding it while that CA glue dries basically it un-kinks it. Continue to work our way around. Alright good - this a little off.
Okay so we now have this recess in. We still have the long seams between the cockpit and the hatch but this front deck, as you see, looks a little wonky. Um, we'd like to get that evened out a bit - there's a little bit of twist into it. Get it un-twisted and get these seams nice and tight along here. So it's kind of the process we're familiar with at this point. Oops I just broke that wire! So the - the real tip of this is not hard to get wires in there.
So we're going to use some just masking tape. So we're just going to get some tape across that seam, that joint, one side to the other. Hold these bits all lined up so things are still a little wonky up here. I'm just sort of twisting it to get some of that twist out of there. All things sort of off to one side a little bit. This is not tight against the form there. My main concern here is that we have - we have the width correct. We're not going to glass the outside of the deck until it's installed on the hull.
Okay, so this will still be pretty flexible and match, you know, and come to an agreement with the hall on where it should be. So that - that twist, you know, I - I'd like to have it end up just like that but it's naturally twisting just a little bit here. So we can as we're gluing that up try and hold it in a bit of a twist and see how it goes. But it - it will conform to the - let's go ahead and get the spot welds between the hatch and the combing here.
We'll work our way down from the hatch towards the tip, spot welding here as well. So I just put a few spots around here to try and hold this together and then the, um, fillet will - yeah the fillet will secure all that. Yep, so that's the deck all stitched and spot welded - looks good! So we've got it all spot welded, um, and we can immediately after spot welding pull all the wires out. Let's do that now, um, after that we'll break for lunch.
After lunch we'll get to filleting. So I think I'm going to call this the end of what's probably episode seven. So we've just finished wiring, finished the spot welding, and then the next episode after this will be fitting and glassing. So I think that was a good call on my part splitting this episode up. We ended up just, just doing the filling on the end of this day and, and decided to push the glassing off to another day.
One of the things I find useful in this format - I can see what Bill's having trouble with and Bill can talk to me about what he's still learning. And as we go I can try and fill some of those things in and hopefully like I said at the beginning of all of this, Bill's kind of standing in as a proxy for you guys. For example back in episode 3 or 4, whatever it was, when we first did the filling of the inside of the hull, those fillets didn't come out great.
They’re fine, they’re perfectly acceptable, but we could do better. And in doing those and seeing what Bill was having trouble understanding, when I do the next episode where we fillet the deck I can address some of those issues and try to explain a little bit better what we're looking for and how to achieve that. By having this opportunity I think it helps a lot that I can then go back and address some of those questions. By all means put questions in the comments and I will try to address them. Please ask the questions and I can answer them just in the comments, or if I do have the opportunity at the time I'm videoing it, I’ll try and get it into you.
But at this point the next episode, like I said, will be filling and then we'll be glassing. And if you’re interested in those steps, please turn on notifications so you know when the next video is coming out. I’m trying to get a video out every week - Friday noon time is something like that. So if you’ve subscribed it should come up in your feed and if you hit notifications you should get a little message message from YouTube letting you know that the video is available.
And I really appreciate your continued support. Uh please like these videos, share them, um ask questions - I really appreciate your questions. If you’d like to participate more directly in the support of these videos I’ve got a Patreon site where um support from that goes to the production of these videos. So until the next time, thanks for watching and happy paddling!

