Introduction
Hi, welcome to The Guillemot Kayaks Workshop. I'm Nick Schade, and in this series, we are building the Petrel Play. In this episode, we're unboxing the kit from Chesapeake Light Craft. Joining me today is Bill, a paddling friend who has shown interest in building a Petrel Play. Bill has paddled one and expressed the desire to build it. He's here to help and act as a proxy for viewers, asking questions and learning the process.
About Bill
Let's learn a bit about Bill. He was a pharmacist for 27 years and transitioned into woodworking three years ago. He started paddling about five years ago with a local club called RICKA (Rhode Island Canoe and Kayak Association). Bill brings woodworking experience but is not a boat builder. His presence adds a valuable perspective for viewers.
The Epoxy Box
Now, let's dive into the unboxing. The first box contains epoxy-related items. There's wood flour, used to thicken epoxy, and colloidal silica (cell fill) for the same purpose. Two jugs of resin and hardener (Mas epoxy) with calibrated pumps are included. The low viscosity of the epoxy facilitates easy spreading.
Opening the Big Box
The main kit is well-secured in a big box. Nick begins unboxing, starting with the seat, foot braces, and fiberglass tape for the inside seam between the deck and hull. The unboxing reveals components like hatch covers, hatch rims, fiberglass cloth, and various forms for hull and deck.
Identifying Parts and Pieces
Nick and Bill go through the components, identifying deck pieces, hull pieces, cockpit parts, pre-beveled panels, and hatch parts. They pay attention to distinguishing marks, puzzle joints, and bevels on the edges. A guide in the builder's manual helps identify and understand each part.
Pre-Beveled Panels
Nick explains the significance of beveled edges on certain pieces, especially on the puzzle joints. The bevels contribute to creating miters when assembling the boat. They discuss the importance of recognizing these bevels during the construction process.
Outro
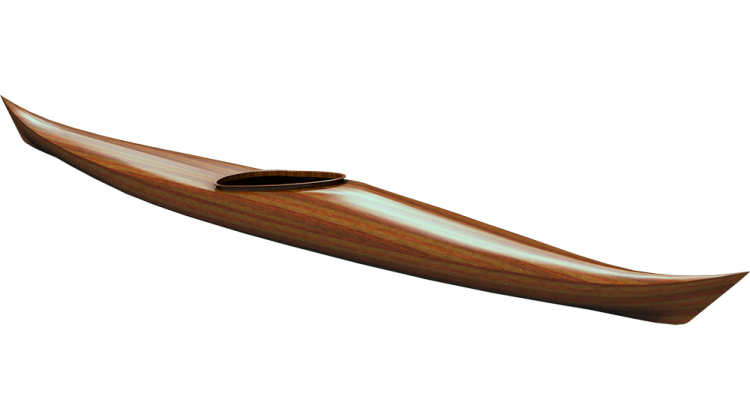
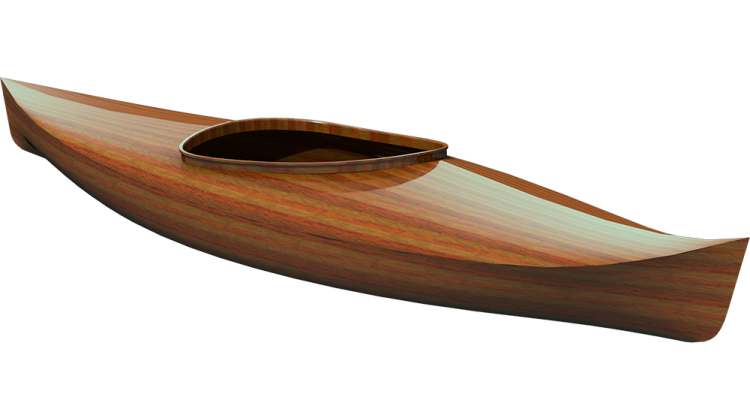
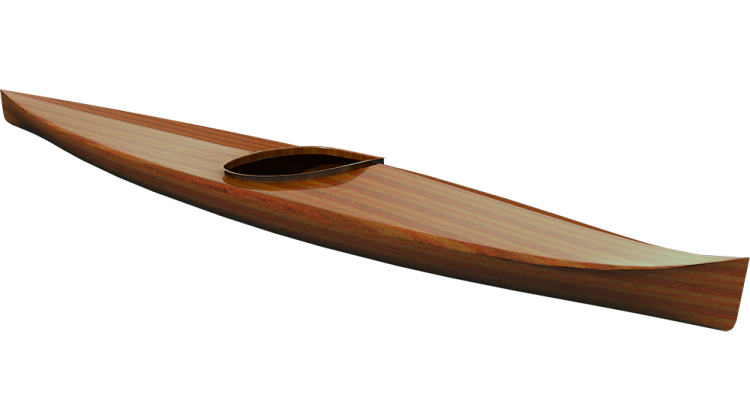
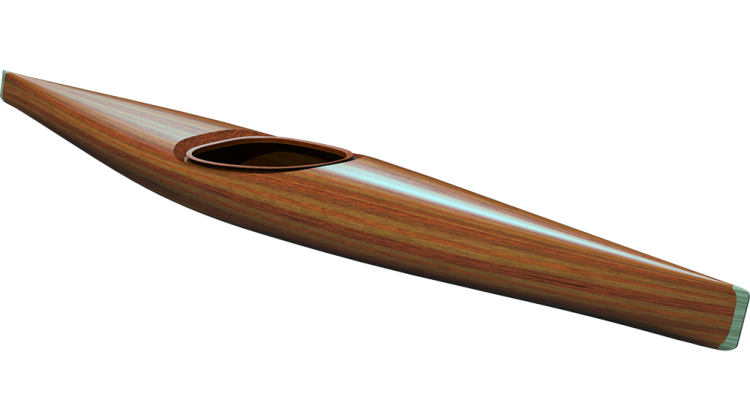
The unboxing process concludes, leaving viewers with a clear understanding of the kit's contents. Nick expresses gratitude for the viewers' support, encourages them to subscribe, like, and hit notifications for upcoming episodes. He also mentions his Patreon for additional support. The next episode will focus on staining some panels for visual interest. Happy paddling!
(This transcript was generated by YouTube, then I brought it into ChatGPT to clean it up and format it a bit)
Introduction: Hi, welcome to The Guillemot Kayaks Workshop. I'm Nick Schade, and in this series, we are building the Petrel Play. In this episode, we're unboxing the kit from Chesapeake Light Craft. With me today is Bill, a paddling friend of mine who has expressed interest in building a Petrel Play. He paddled one a little bit and thought he might like to build one. He hasn't gotten around to it yet, so I suggested he come help me out and sort of stand in as a sort of proxy for you guys, asking questions as we go. He can learn the process a little bit, and at the same time, he's helping me out. So, Bill, why don't you tell us a little bit about yourself? What's your paddling experience? What's your woodworking experience?
Bill: Okay, so I was a pharmacist for 27 years, and then I decided to segue into doing some woodworking. I've been doing that now for three years and been enjoying myself with that. As far as paddling goes, I started paddling about five years ago with a local club called RICKA (Rhode Island Canoe and Kayak Association), and they brought me along. They were really good about helping me out and learning paddling skills, navigation, safety, and awareness – all the things that go into becoming a paddler. So, yeah, I have some woodworking experience, but I'm not a boat builder by any means. I hope you find this helpful, and hopefully, your presence here will help explain some things to the people watching the video. I appreciate you coming by.
Woodworking experience, okay. Um, so I was a pharmacist for 27 years, and then I decided to um, segue into doing some woodworking, and uh, I've been doing that now for three years and been enjoying myself with that. As far as the paddling goes, I started paddling about five years ago with a local club called RICKA. They kind of brought me along; this is the Rhode Island Canoe and Kayak Association, I think. Yeah, something like that. They were really good about uh, helping me out and learning paddling skills, navigation, and just safety and awareness – all the things that go into becoming a paddler. So, um, yeah, so I have some woodworking experience, but I'm not a boat builder by any means. Well, I hope you find this helpful for you, and uh, hopefully, your presence here will help explain some things to the people watching it in the video as well. I appreciate you coming by.
The Epoxy Box: Right, so like I said, we'll start with an unboxing here, and this is box number two that comes with a kit. This is the main body of the kit, but it contains the epoxy. What we have here is some wood flour, which is basically high-grade sawdust. Another thing of wood flour, I think they go to an MDF Factory and sweep the floor for that stuff, then cof fill. Both of these are used to thicken epoxy in different situations for gluing stuff together. The wood flour is brown, and the cell fill is white – that's the primary difference, as far as I can tell. When you look at this, you might think, "Okay, these are boat building products." The cell fill is actually something produced as fiber to add to baked goods in industrial baking, so it's just a white powder. We're using baking products. Then we have a couple of jugs of resin here – Mas epoxy, a low viscosity epoxy. So, that's the resin, and this is the hardener. There are pumps that go with that, fairly calibrated – just ketchup pumps or mustard pumps, but they're generally pretty good. That's what's in box number one. The low viscosity is to facilitate easy spreading. It soaks into the fiberglass easily and spreads easily, making it easier to apply in the process of fiberglassing. However, low viscosity is probably not the best for gluing panels together because it'll just run out. That's what this is for. That's what's in box number one or number two or whatever.
Let's get into the meat of the unboxing here. This is how the Chesapeake Light Craft kit is typically shipped out. They actually hand-delivered this up to the Wooden Boat Show in Mystic this past June, but they will ship it out just like this, I believe, via UPS around the country. Fine Boat Kits in the UK also sells these kits throughout Europe, and I suspect they package them up in a similar manner. Let's just go ahead and start unboxing.
Opening the Big Box: Here, so these big pieces of cardboard, I find them; they can be useful to keep. Just, you know, you've got to protect the floor or just keep them someplace. Um, all right, let's see what we got in here. Wow, so, you know, they really secure this. Um, you know, again, this is supposed to go through UPS and have all the UPS goons deal with it and not destroy it. Um, so first things first, this will be the seat. This is the standard seat that comes with a kit. There are other options, but this is a really pretty comfortable, minimalist seat that gets the job done. We can make a pile over on the sawhorse over there, and then I don't know, we just sort of start finding what we can peel back on the tape here. Lots of tape, foot braces. Um, these are really pretty key to your comfort in the boat, having something solid to push your feet against. It's really uncomfortable if you just have your feet dangling out the end. This is a roll of fiberglass tape, fiberglass tape. I think this is 3 inches wide. We use this along the inside seam between the deck and the hull.
All right, here we have a seat backrest and, most importantly, the instruction, The Builder's Manual, manual. So the same instruction manual goes for the petrol SG, which is a 17t version, the petrol play SG, which is what we're building here, and the SGL. So that is a 16t, 25 inches wide version of the petrol play for people who need a little bit more room.
All right, here we have another bag of goodies. We've got a bunch of copper wire. Again, we call this Stitch and Glue boat building. The stitches, that's the copper wire. Other stitching wire stuff we have in here are some syringes, some shock cord, some 1-inch webbing, a little bit of nylon cord. The shock cord is the lines, the webbing is, you know, can be used for deck lines and other things. The cord may be for grab loops or more deckline stuff. We'll figure that out when we get to it. Hatch cover, this is for the stern hatch. Basically, it's kind of like a hatch rim tupperware deal. This gets glued down to the hatch, and this is the cover. And so that will be on the back deck, and you have another one here for the front hatch cover, same deal, round cover and a rim. So these are one of the last things we install on the boat.
So we have here a big long roll, and it says this is Fiberglass Cloth petrol play SG, 20 yards, 4 ounces, 50 inches. Any guesses what that is? I would think that would be the fiberglass one. Yeah, good guess. So it's all wrapped up in a roll. It's useful to have the fiberglass rolled up like this. So the easier way to package it would be to fold it. If you fold it, you end up with some creases in the cloth, which can end up being a little bit hard to make go away on the finished boat. Almost all of these long pieces, there are two identical pieces or virtually identical.
So for the long bits, what we want to do as we're taking things out of the box is start to familiarize ourselves a little bit with what the parts are. In the manual here is a guide to all the parts. We're going to build the deck and the hull sort of in separate operations. So I find it useful at this point to just find all the deck pieces, find all the hull pieces, and make their own pile for each. We can try and find which bit is which bit.
Some of the things to look at to help identify these things are just the overall shape, and then this piece has this puzzle joint right at the end. One way to identify this piece is to find that puzzle joint. If you look on here, you can find it on there also. It's a steeler plank on the aft. There are two steeler planks, one on the left side and one on the right side. So we have two pieces here currently taped together. But, bottom line, this is a hull piece. This goes on the hull. So let's call this side the hull.
Here we've got a bunch of panels with this joint on it, and that corresponds, it looks like, to the whole bottom Y. We will at some point have the question of whether this is the bow or the stern, but let's hold off on worrying about that just for now. Here's another one with that same sort of puzzle joint pattern. So again, if we look in the manual here, right in here, we've got those puzzle joints. So we've got the bottom panels, we've got the steelers for the hull. What we don't have yet is the forward side panels and half side panels. There are two pieces that should make up the side panels, the whole side. I would venture to guess that this would be part of it. Yeah, that would be the whole sides, right? Yep, those are the hull sides. So again, looking at these distinguishing marks on these, we've got that puzzle shape there, and the other end comes to a bit of a tapered tip. It's otherwise fairly wide. So we have that as one end, and then at the other end, we've got a matching puzzle joint. And then at this end, we've got that wider end bit. So that looks like this would constitute the hull. That makes sense.
All right, so let's just get these hull bits out of the way so they don't cause this. So presumably, we've got deck pieces to look for at this point. We've got two small triangular pieces here. There are two of them. They match each other. Those look like the front deck. Yeah, so that's the front deck. You've got those pieces, and then you've got some long, skinny pointy pieces back there with the puzzle pieces here. So this is the deck side. Yeah, it looks like, yeah. So deck side. So we've got so far figured out we've got the forward deck panels right and left, and we've got the side panels right and left. There are more panels that we don't have yet, and we have hatch parts as well.
So we have a whole another layer of tape here that we get to chew our way through. Let's start untaping all of that. Here we have a nice ring that would be the forward hatch ring. Presumably, if this is a forward hatch ring, there's going to be an aft hatch ring someplace, and we'll make an educated guess that that oval ring right there is it. You get a free piece of plywood with it. All right, what else do we have here? We've got a bunch of these funny-looking things. I'm not sure this is all of them.
But this is a start. So these are exterior forms. A couple of things to note on these: there are little notches on this form, and on this form, there's a little dimple, a little thing sticking out. Those will be used later to help us identify which one it is. This one has two notches; this one has one sticky-outy thing. So this is form one on the hull, and this is form two on the deck. So we can sort those out: deck pieces with the dimple with the notches and hull pieces with the sticky-outy. So those are all deck pieces: one there, two right there, there two, three, four. So I think all the forms are accounted for.
Forms, here we have—do they show up on there? Yeah, they do show up on the guide. There they are: combing spacers. These make up the whole ring of the combing. The combing is a sort of egg-shaped piece. If we were to cut all of these egg-shaped, we'd waste a lot of plywood. So we've segmented them into shorter pieces to be more efficient with the plywood. We've got four different varieties of these spacers. We've got this shape, we've got this shape. Actually, there are two different shapes here, four of these curved pieces, and then one of these longer pieces. We'll find more of those as we go along, but for now, that's what those funny-looking things are.
And then we have two of these tubes. These are, I'm sure they're identified on there. Somebody calls them thigh braces; I call them cheek plates. These go on either side of your cheeks, hold your butt in place.
And what do you think that is? That would be a bulkhead. That looks like a bulkhead to me. Yeah, and here's another one. So guesses on forward or half bulkhead. This would be behind your seat. I think—wait a minute, wait a minute. No, this would be forward. Yeah, so this one's behind your seat, and this would be the widest point of the boat. Yep, yeah, exactly. And then we have these little doohickeys. We thought we had all the hull pieces. If you look on the guide here, there's, for the Steeler plank, the bow end of those. Yeah, so that goes in that stack over there, right?
Here we have a whole bunch of these shaped bits. So these are for the aft combing or the aft hatch. We recess that hatch down so it's not sticking up above the deck, and these will form that. They all come in this piece. It's probably best to leave them in here for now. That way, you won't lose the pieces. Here we have another crescent-shaped bit. This goes right behind the cockpit, the combing recess. So this piece ends up getting bent up around behind the combing to get the combing down a little bit below the deck level. So we can actually start to see some of the foredeck. Here's the combing with a few more of the combing spacers. Here's the foredeck, and this is the recess behind that combing.
Right, so this piece has a big oval hole in the middle. Be a little bit gentle with this because we've got these narrow pieces here; easily broken. It's not the end of the world if you break those, but we'd rather not. So here we have the combing ring, and in this case, we opted to have that one continuous piece instead of fitting it together like these combing spacers. It's just an aesthetic choice. It's nice to have that all one piece, and we're able to fit these other pieces inside so we're not wasting that much. So I think we've accounted for everything in the deck now. Let's do an inventory, make sure we've got everything.
Here's the rear deck, and then we've got the combing itself, the cockpit area. So that piece goes in here; this is the combing itself. Then out at the pointy end, we've got these pieces, and we've got the side panels, which are here, two of each. So it looks like we've got everything here.
One thing you'll see on some of these pieces—and it's good to focus on the right thing—right here, that's not a square edge, like that's a square edge. This is beveled right here. That makes it so when we put the boat together with these coming in at different angles to each other, it's essentially going to create a miter between those two pieces. So these two pieces are going to fit together here, and that's going to raise up and create a little miter here. So identifying the bevel on all the pieces, if we can get everything turned so we see the outside of the boat, we can just do an inspection.
But again, we've got a bevel on these two edges, and so the bevel side down. So this episode stretched on a little bit long, so I'm going to cut it off right here. We're done unboxing, so you see what's in the kit from Chesapeake Light Craft. It's really complete, really well packed. But I think this process of going through, identifying all the parts in the kit, going through the manual a little bit is really useful for you to see what you're dealing with, familiarize yourself a little bit with the parts, and it'll make it easier down the line identifying things and making sure you have everything.
This episode, plus the next episode, is all happening in one day, but I've chosen to break it off at this point just to keep the length down. What we're leaving off at this episode with is Bill and I are going into the shed, taking a look at one of my Petrel Play SGS that I've stained and just sort of seeing if that's what we want to do. And spoiler alert, we are going to go ahead and stain some of the panels. I think it really looks cool. It gives a chance to highlight those puzzle joints that we put together, and it makes the akum pop a little bit. It gives a little bit more visual interest. And whether or not you choose to do it, I think for some of you, it might be educational just to see how the process is accomplished. So that's what we'll be doing in the next episode. Until then, I really appreciate your support. If you could go ahead and hit notifications so you know when the next episodes come out, if you hit subscribe and like, that helps the visibility of this video, and all of that helps support the process of making these videos. I also have a Patreon, and the supporters have been really kind and continuing to support me over the years. That helps a lot in the production of these videos. So until then, thanks for watching, and happy paddling!